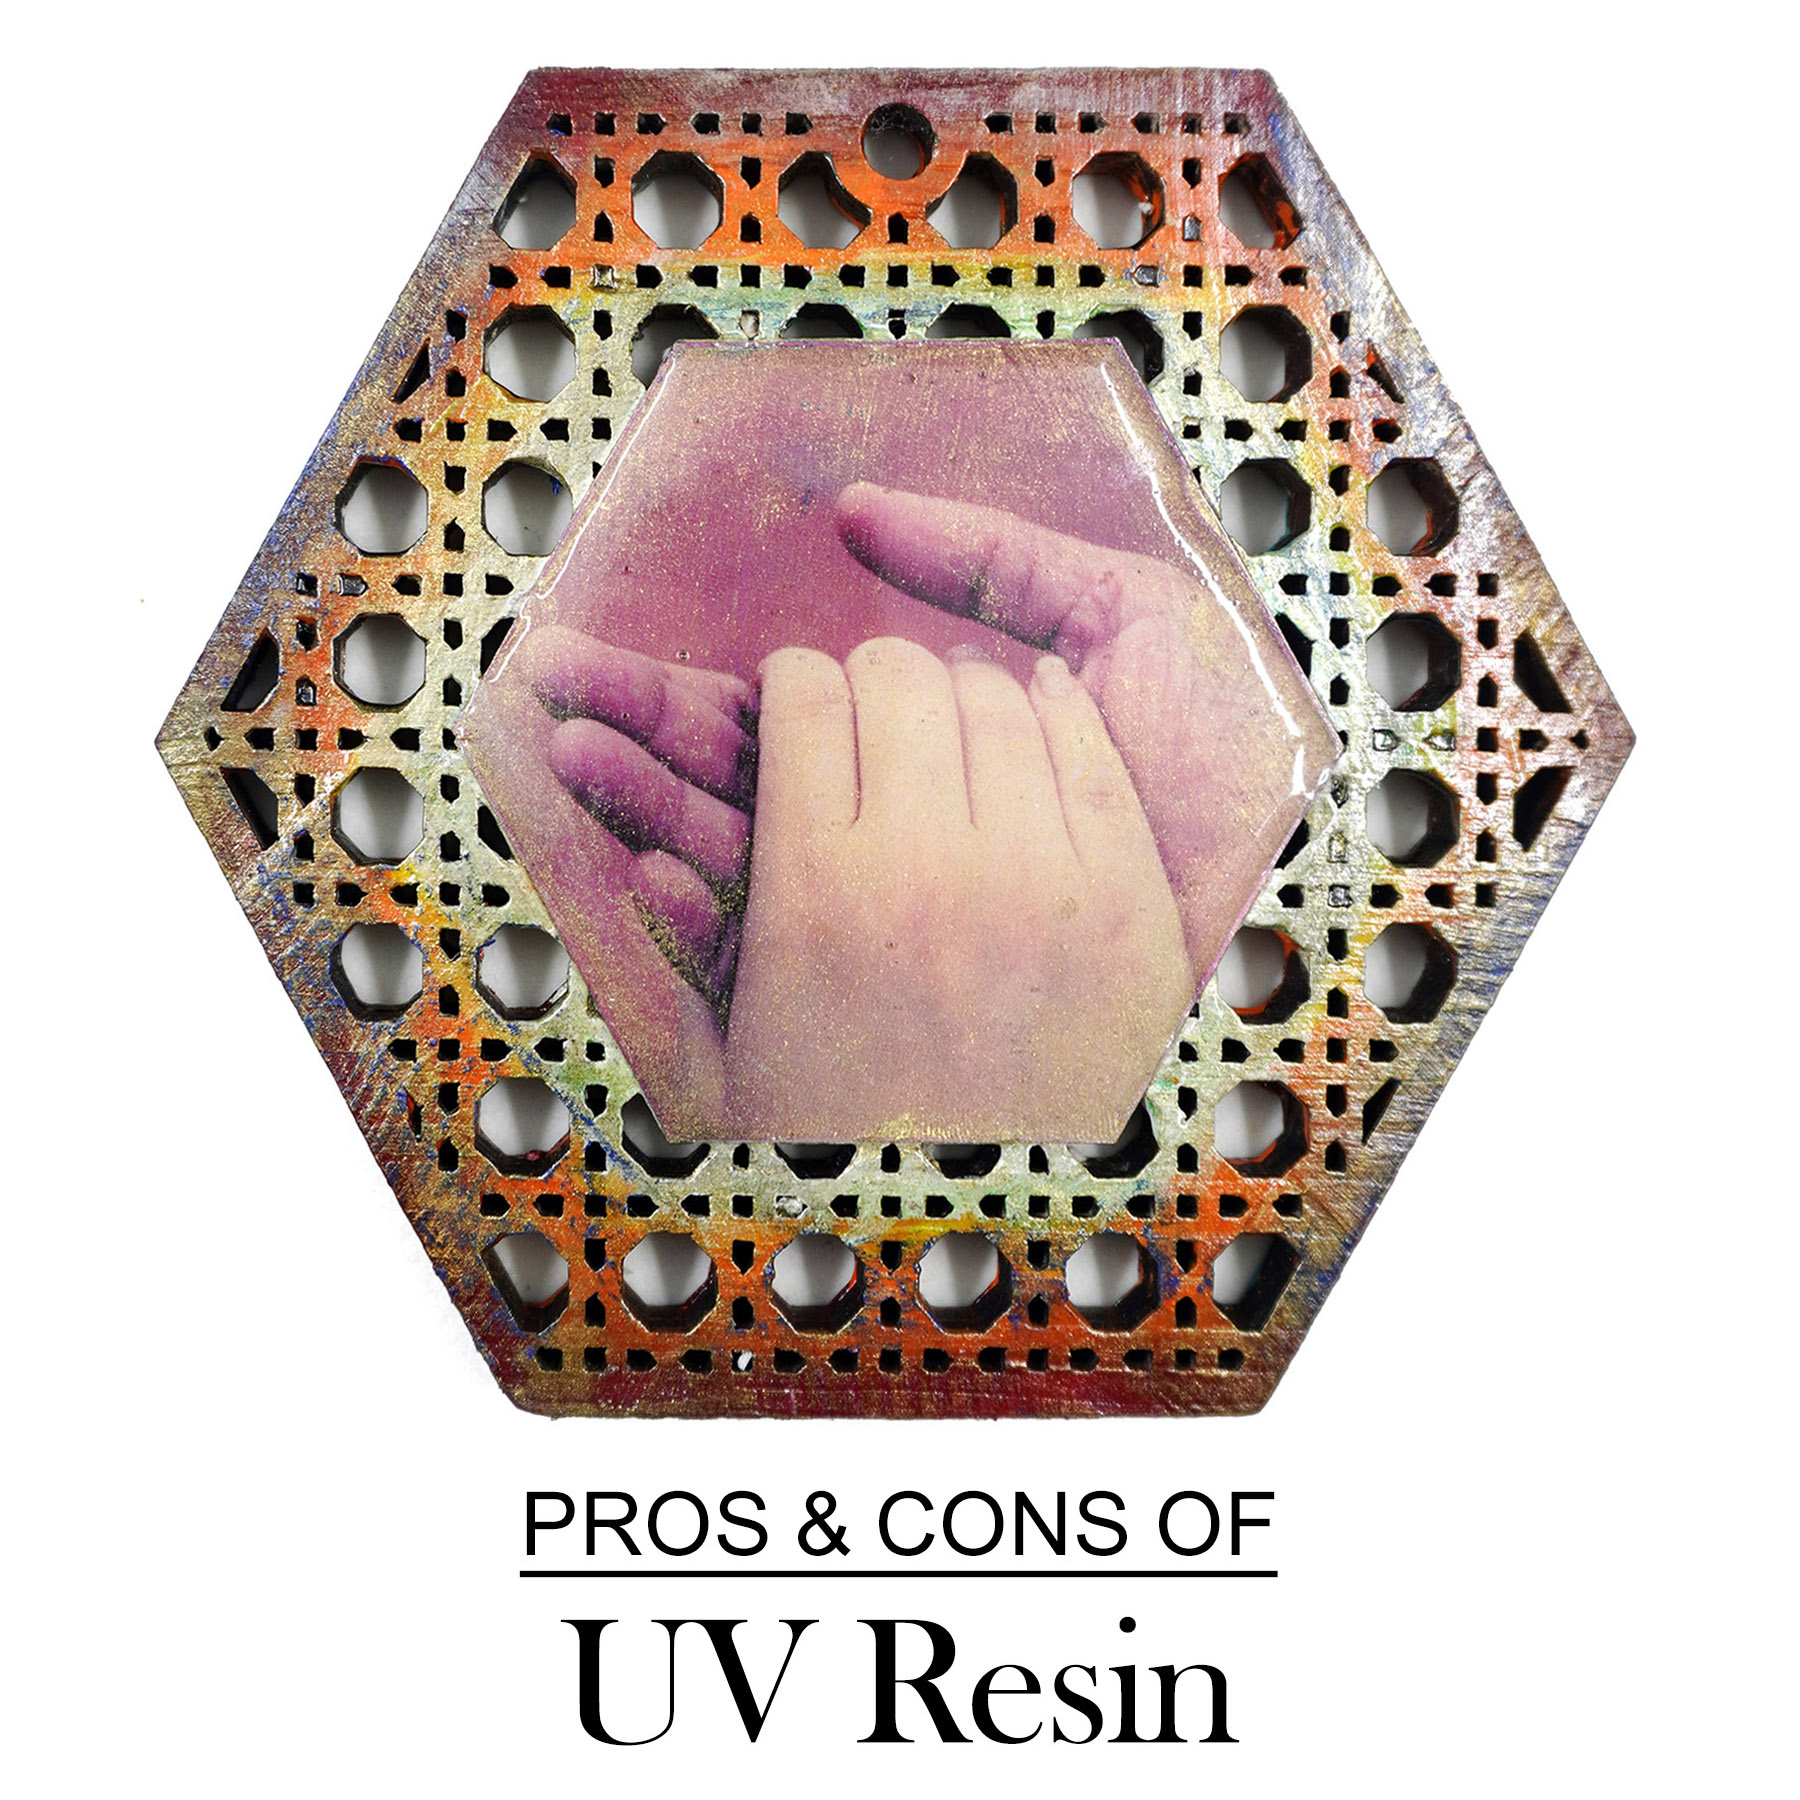
While I have worked with epoxy resin for the past 11 years, I am of two minds when it comes to UV resin. In this post, I will share my personal opinions of UV Resin based on several years of experience.
What is UV Resin?
UV resin is a synthetic single-liquid resin. This means that there is no mixing of resin and hardener involved as in the case of epoxy resin. It cures within minutes (sometimes seconds) when exposed to UV light. They can be thick or thin in consistency and come in hard and soft variations. You can use nail art nights or UV torchlight (for really small pieces). The nail art lights cost about Rs.250-350 in India but these work only for 3-6 months. You do not have to work in a dark room while using UV resin. LED/fluorescent lights that we have indoors or natural window light does not cure the resin. The resin needs to be under direct sunlight or UV light for it to cure.
This resin can be mixed with colourants and particles like glitter and under embeds. However, I cannot vouch for its effectiveness in these areas for I have only used UV resin for doming.

Pros of UV Resin
- No mixing needed – just pour.
- Easy to paint, especially in layered paintings.
- Can be used on flat surfaces with no built up edges.
- Easy to stick objects on the surface.
- Quick, as a thin layer on a 4inch surface takes only 2-3 minutes to dry.
- Great for prototyping or sampling. I made the initial prototypes and working samples for my Handpicked project using UV resin. It was a great way to test proof of concept.
- Great for small projects like charms and one time use items.
- Might work well as a group activity
Cons of UV Resin
- Suitable only for small projects.
- You can use only transparent moulds that will let the light in.
- Requires UV light which is an added expense.
- Due to the exposure to UV light, it is not recommended for regular use
- Sometimes it dries sticky.
- If you do not spread the layers properly, it becomes very patchy.
- Yellows or becomes cloudy when exposed to harsh light/sunlight when wearing it.
- Lots of pit/blister marks
- Not scratch resistant

Tips
- Apply resin in thin layers. Always use a spatula to spread resin evenly.
- Wear gloves on your hands or apply sunscreen when working with UV lights.
- Clean your hands and fingers completely (of resin) before switching the light on. If you feel a slight burning sensation on any of your fingers, move away from the light and clean your fingers thoroughly. You might have gotten trace resin on the skin while moving your piece to under the light.
Should you buy UV resin or epoxy resin?
UV resin is great for testing out an idea or making small time bound projects. However, it is not durable and has its own share of pointers to note while using it. All things said and done, I am happy to stick to epoxy resin while making jewellery and use UV resin only in emergencies or for sampling. I actually remade most of my handpicked pendants and brooches using epoxy resin so that it is durable. Tell me your thoughts. Have you used UV resin before? How has it worked out for you?
I hope you find it interesting
Cheers


What do you think?