
It has been several months since I participated in a blogging, jewellery or art challenge. So I decided to switch things up a bit this month by participating in Art Elements upcycle theme challenge with an artistic item. It all started with an old plastic plate that has been in my house for ages. It was a compliment that was handed out by a chemical factory to one of my uncles or my grandfather, maybe in the late 1980’s based on the number of digits on the phone number mentioned on the plate. I am not sure how it ended up in my house but we have had it for a while. During a chance cleaning, I came across this plate once again and decided to upcycle it with a painting. Since the plate has several floral projections I decided to add more depth by using a dark background and white foreground. Continue reading for the Plate painting tutorial.

Plate painting tutorial
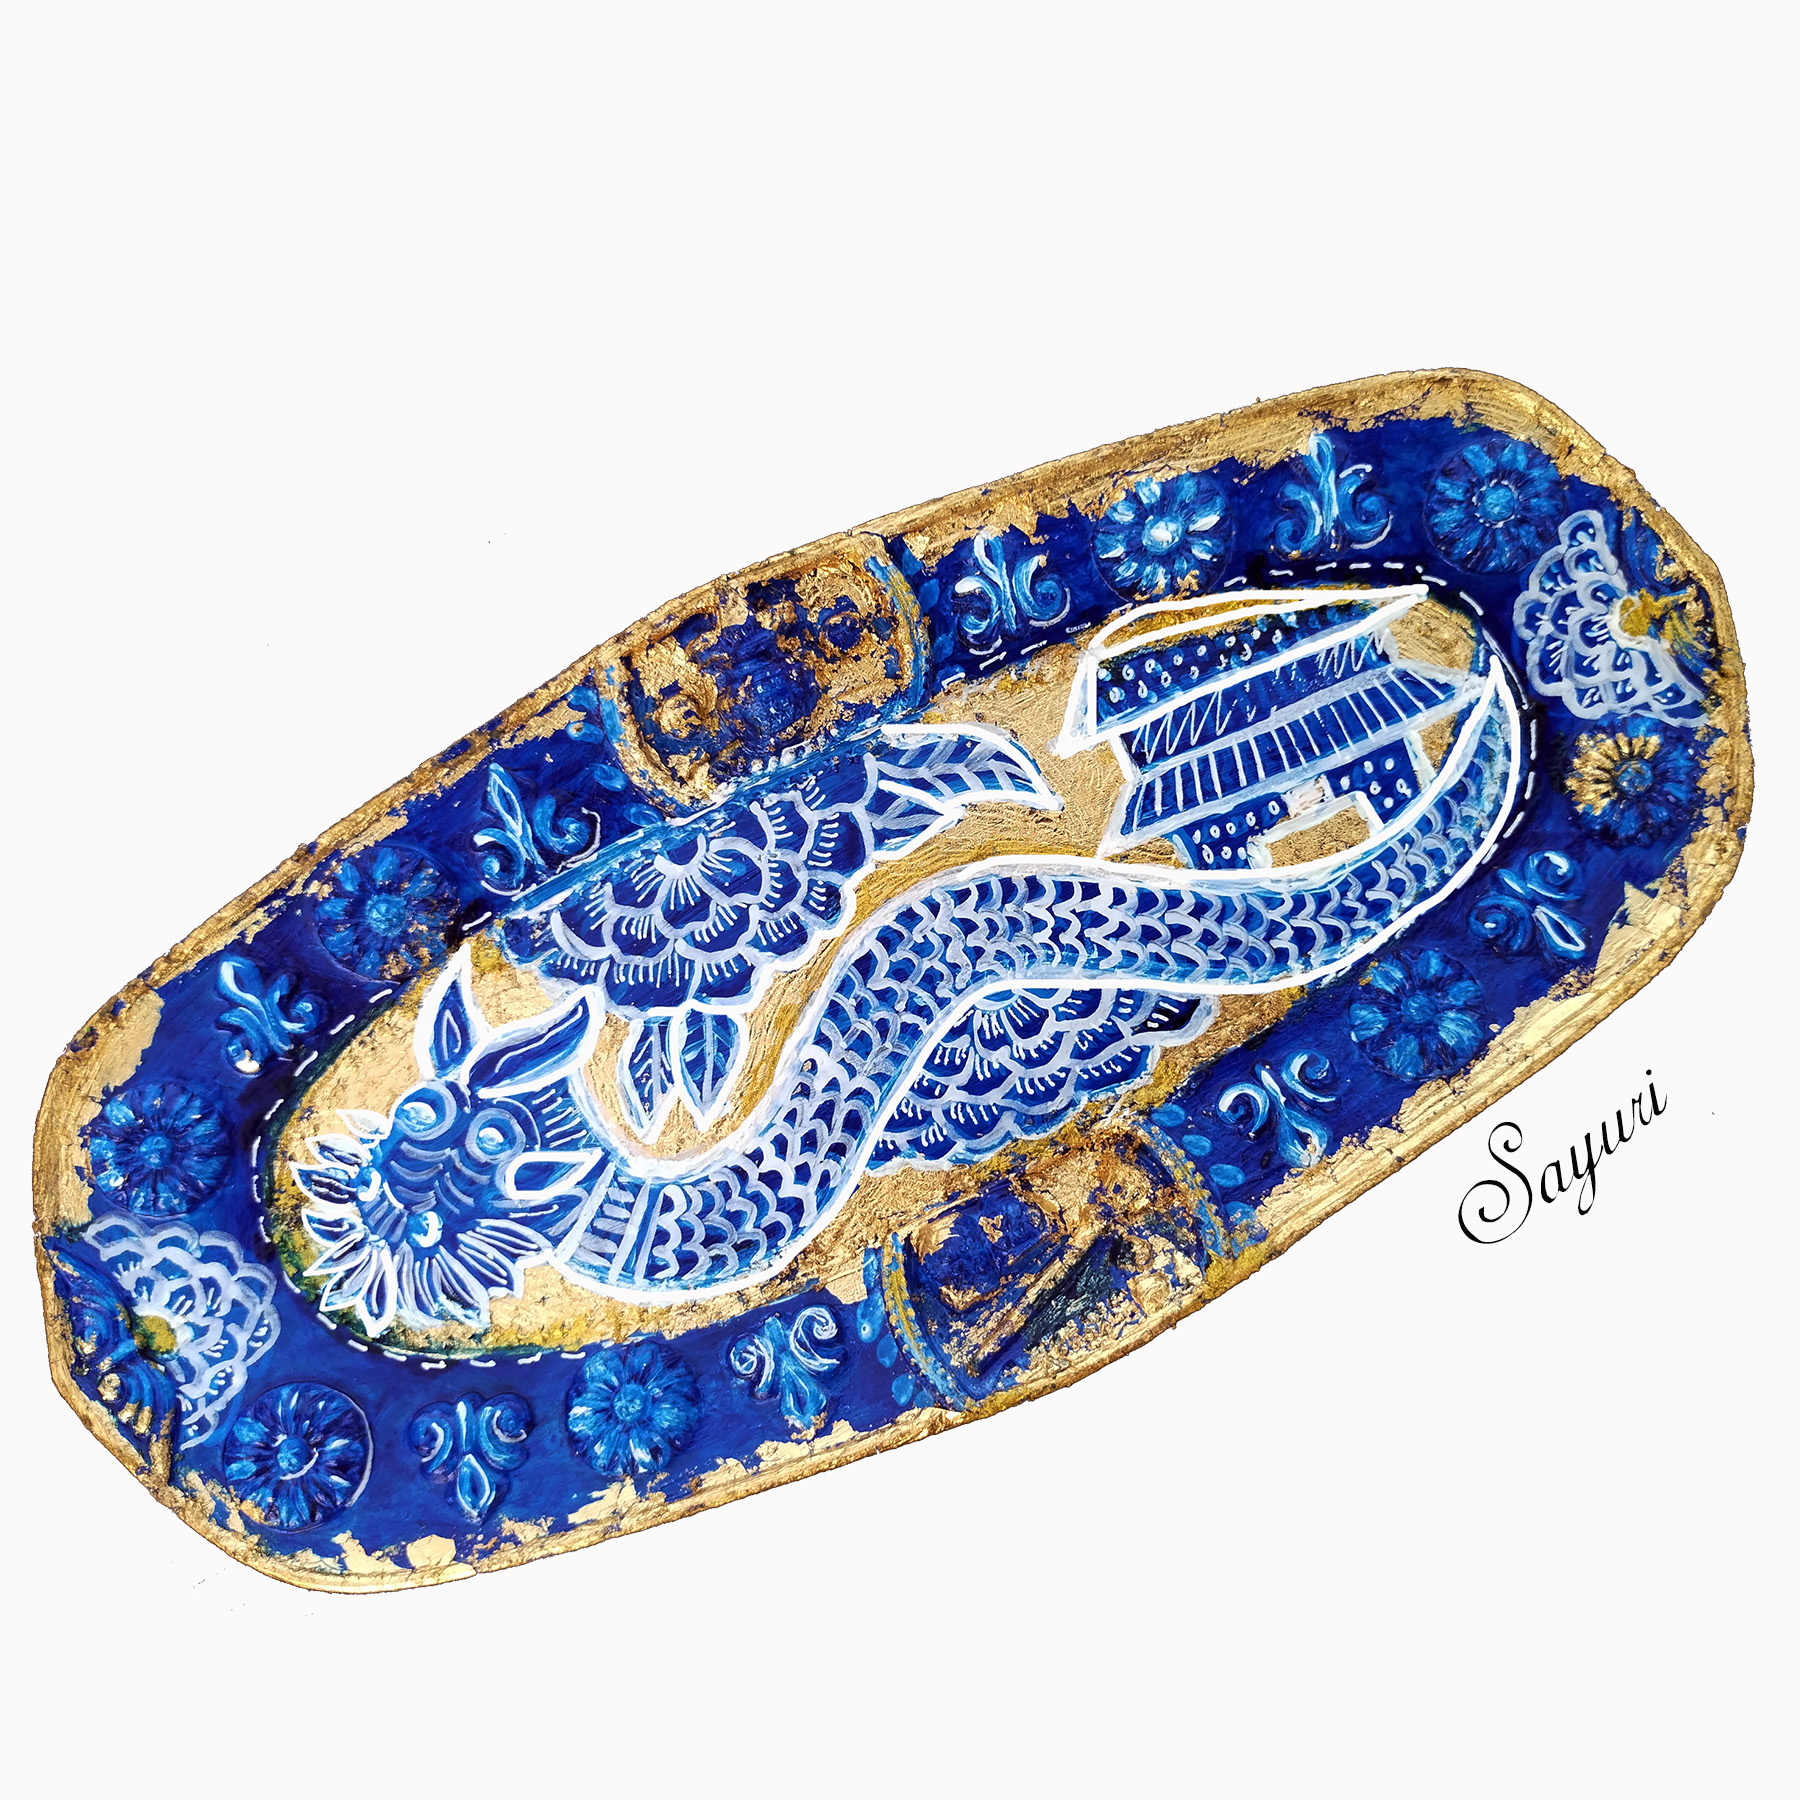
I love blue pottery, especially Chinese blue pottery and I have been itching to create a plate in that style for a while. However, I am out of practice with regard to fine line art with paint and thus resorted to a simple design on the plate. The gold flakes add a sense of richness to the plate making it look like an artefact that was created based on the influences of the Silk route in the past.
Materials needed
- An old plate
- Gesso
- Dark/royal blue acrylic paint
- White acrylic paint
- Gold flakes or foil
- Tacky glue
- Modpodge or a sealant
- Varnish or resin – optional
- Brushes – Flat brush (size 9), Round brush – (size 0), Round brush (size 2-4 to apply the glue

Method – Plate painting tutorial
- Wash and dry you plate until it is clean. Apply 2 coats on gesso on the back and front, drying in between.
- Apply 2-3 coats of blue paint until both the front and back surfaces are uniformly coated. Let dry completely.
- Draw/paint the outline of the dragon, the chrysanthemums and the house on the plate using white paint. You can also use a white glass marker or colour pencil to draw the outline if you are unsure of drawing with a brush. Add in details and dab highlights.

4. Apply tacky glue to the parts where you want to apply the gold foil. Let it dry for anywhere between 5-20 minutes as per instructions on the label. Once the glue turns tacky, slowly apply the gold parts in parts, burnishing it as you go. Since this plate had projections and crevices, I burnished the foil using my fingers for a smooth finish.
5. Seal the gold foil using a sealant. In my experience most sealants dull white white on darker backgrounds. It happened with this plate as well. So I went back with my brush and white paint and redid the outlines.
6. Use a varnish or apply a thin coating of epoxy resin if you want to protect the plate for the future.

I hope you enjoyed this upcycle project. I am planning to use this as a visual aid for a storytelling class and see what kind of stories come up. Do add your stories in the comments as well.
I hope you found it interesting
Cheers

6 responses to “Plate painting tutorial for upcycle theme challenge”
Wow, that is a gorgeous upcycle. I would never guess it’s a plastic plate; it truly looks like old pottery.
Thanks Tammy, yes I too love how it has gone from some sticky plastic plate to an art work. It was a very satisfying upcycle.
And it looks stunning! Just like real Chinese blue pottery! Love everything about it – the drawings and colors!
Thank you, you are too kind!
What a really great way to transform that old plate. It actually looks much older now, but also so very cool!
It does look old, in an artistic way. Thanks for noticing that.