A decade or so ago, I saw patterned tin jewellery and wondered how I could recreate the look using plain tin or a base metal. Vintage patterned tins were extremely hard to come by in India then, and when found, quite expensive. Plus, cutting open a tin just to make a pair of earrings was a lot of work. Following this reasoning, I knew that I need a cheap and an easy alternative. It was then that I zeroed in on image transfers.
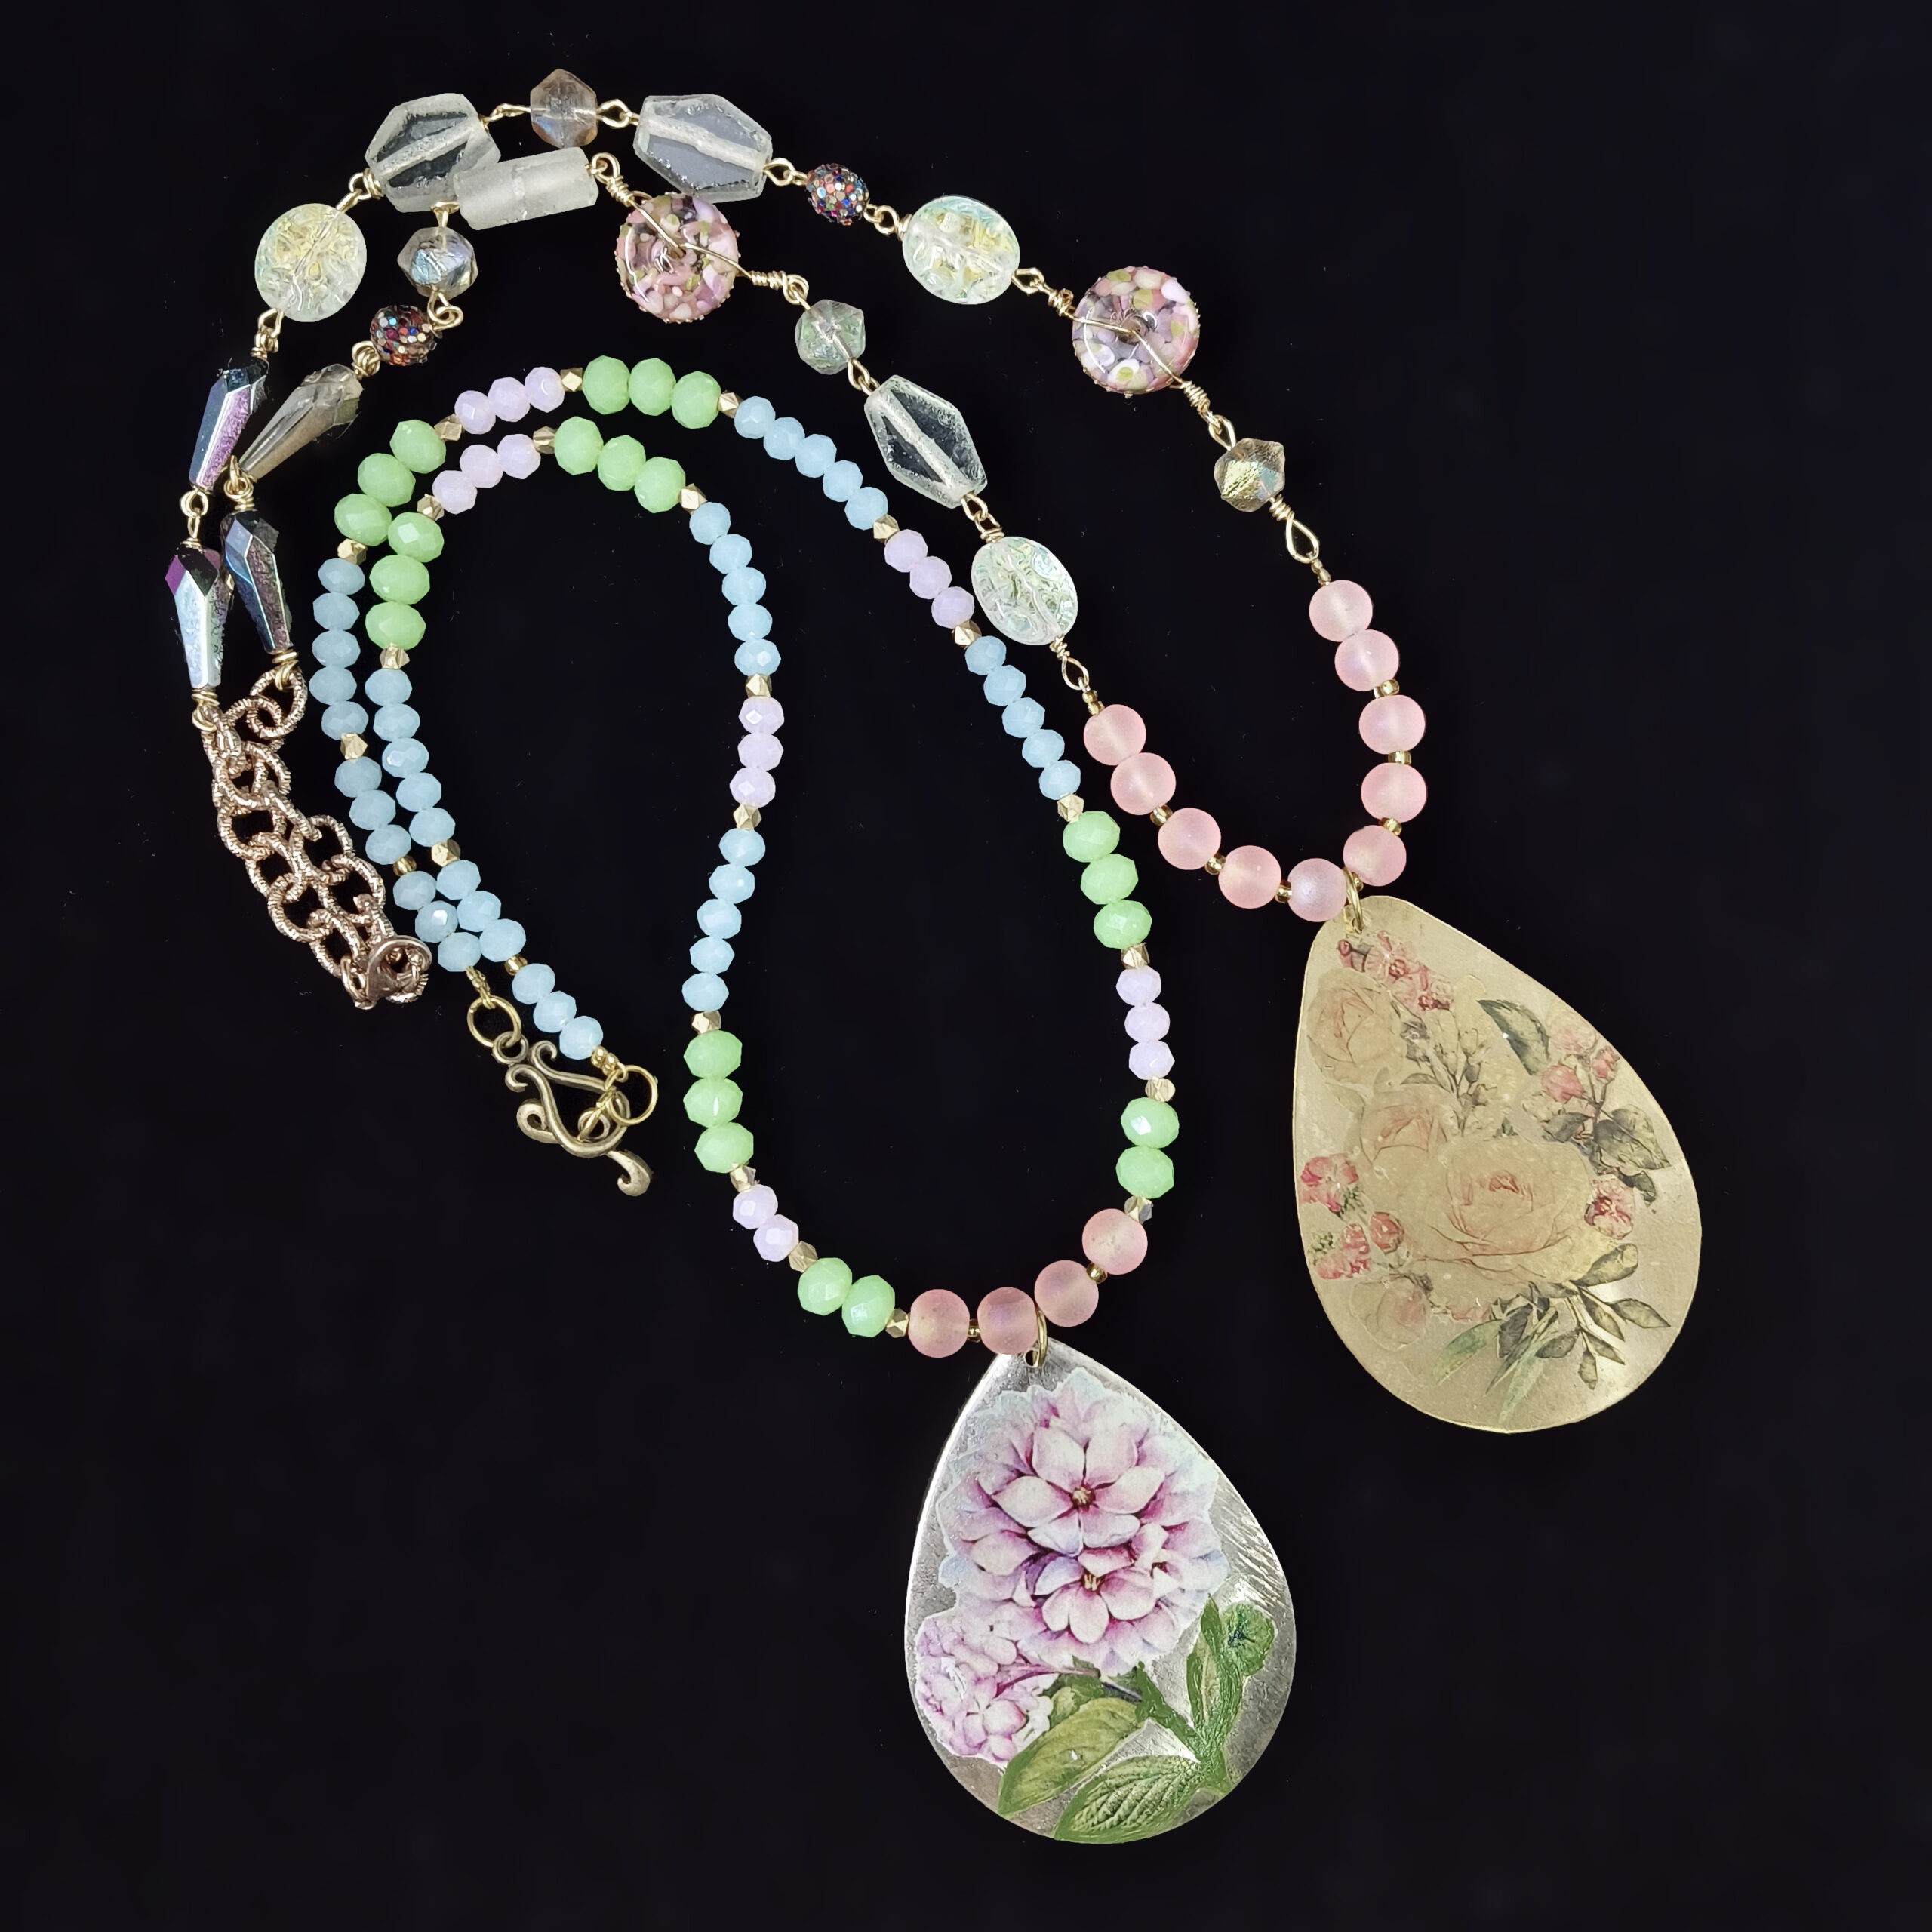
However, the image transfers available at that point were predominantly for use with fabric or paper. The designs were rather large, rendering then unsuitable for jewellery. With submlimation paper (and ink) you had to iron the design which was impractical most of the times. I still tried a few options which flopped. Fast forward to December 2023, I finally bought a Little Birdie transfer sheet after contemplating buying one for years. I made three image transfer necklaces this year and here they are.
Image transfer necklaces
My first trial with image transfer was the necklace that I showed in my Allegory Gallery Prompts reveal post. In this necklace (first image below) I applied the transfer directly on the base metal. This was a necklace refashion and I handcut golden brass sheet for the pendant. I love the faint and subtle transparent look on it. The photo below does not do it any justice. You can see me wear it on Instagram here.


Continuing my trial with image transfer necklaces, I tried applying the transfer to a fully painted base. It looked extremeley tacky and I discarded it. Then, I used a readmade textured teardrop pendant as the base. I gave it a base coat of paint in specific areas and applied the transfer in pieces to get the desired look. This was more labour and time intensive compared to the first approach. However, the design is much more brighter as it has an opaque base.
I strung this pendant with pastel colour beads making a multicolour, multi-metal necklace. Its eclectic, so I am not sure how harmonious it is. I may separate the beads and pendant at a later date though. Should I separate them or leave them as they are? What do you think?

Opaque Vs transcluent
While I liked the brightness and visibility of the design in the second piece, I preferred the luminosity of the design in the first. After experimenting with various materials, I figured out the shell or Mother of pearl was the ideal base. The white background allowed the design to pop and the nature of the material allowed it to glow. On the downside, it was difficult to keep the image intact and I over painted in certain areas. I also had to seal the pendant multiple times. I strung the pendant with frosted pink beads (also with an inherent glow) to make this necklace.
Both the pieces are available for sale. These necklaces come under the “delicate” category owing to the nature of the image making process and therefore, must be stored and handled with care.

Image transfer Process
To transfer the image, follow the manufacture’s instructions. It is no secret and several detailed tutorials can be found online. Experiment with a variety of base materials such as metal, wood, shell, MDF, or paper to achieve the look that you want. I also found a video where the sublimation print technique can be used to create sentiment picture jewellery.
- Cut the pattern close to the design.
- Remove the clear top sheet and place the design upside down on the surface where you intend to transfer it.
- Wet a sponge and dab water on the transfer paper.
- Gently remove the paper to complete the tansfer.
While image transfer necklaces are limited by the variety in transfer stickers, I find the image making process of this kind of picture jewellery fascinating. They are also fun to make and wear. What do you think of them? Tell me in the comments.
I hope you find it interesting
Cheers


What do you think?