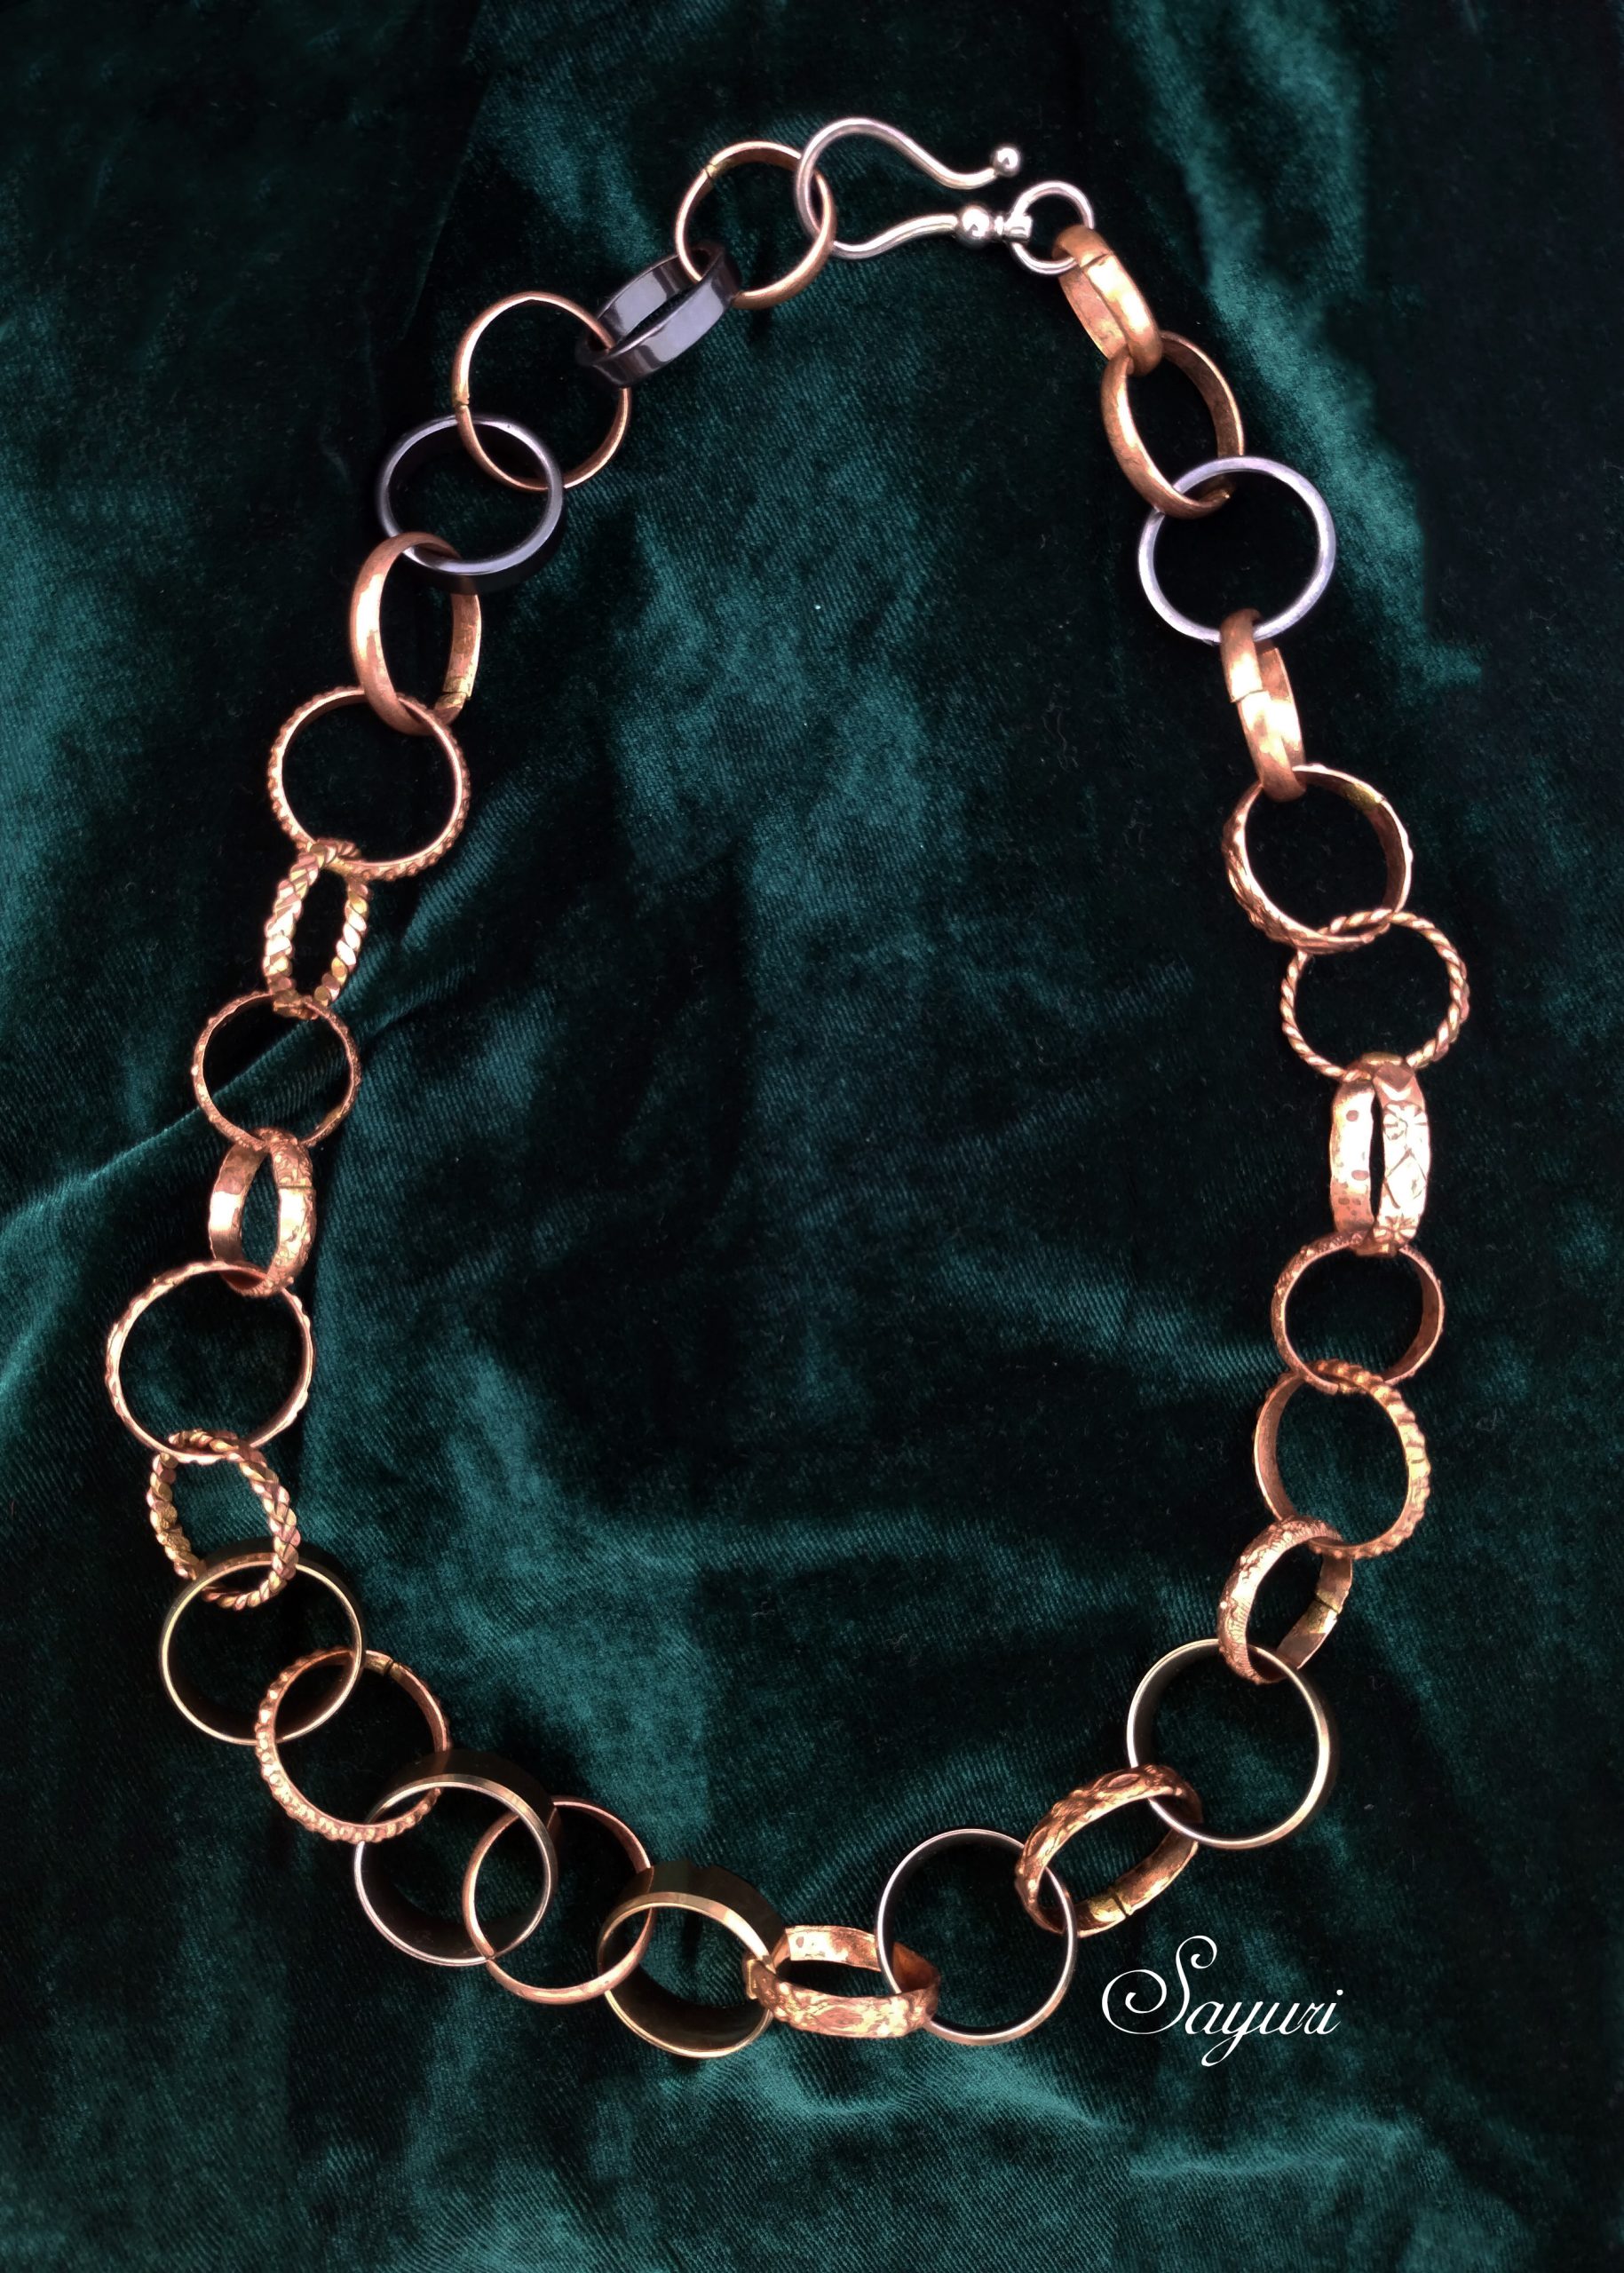
It has been a hectic few weeks for me and so I have put jewellery making aside. In the moments I need a distraction, I crave for a quick bit for jewellery making. To make something that is fuss free, fun and does not require too many materials. If you too have been looking for one such idea, then this blogpost is just for you. I am going to show you how to make a chain necklace using existing finger rings and a clasp. That’s it – just two materials!

For a year now I have been looking to buy chunky golden tone chain necklaces for myself. Most of them were very expensive. The cheaper ones looked like they had a powder coating that would scratch off. Therefore, I decided to make one for myself, but didn’t know how. During one of my usual prowls on WGSN, I came across a ring necklace in Sacai’s Pre-fall 2020 collection. To be honest this was the first time I heard about the brand but the gender bending, all outfit necklace of rings intrigued me. As it was two seasons late, I decided to create my own version of the necklace for personal use and not sale.
DIY chain necklace using finger rings
I had bought a whole bunch of fine copper finger rings at a street festival in March. For this design, I mixed them with some glass (black) and cheap golden men’s rings (typically sold on the streets). Yes, the tutorial has been in the making for a while. But looking back I feel grateful for the celebrations that happened on my street before this year’s lockdown. Staying at home all the time does test my patience these days. Emotions aside, you can make this tutorial with any kind of ring that you already have in your stash. Rings that your children or you have outgrown or found in grab bags and flea markets are good options. As along as you have some pure metal rings that you can cut or saw through or heavy duty large jump rings, you can make my version of the necklace.

Materials
- Assorted metal finger rings – 30
- Heavy duty clasp
- Jewellers saw or snips
- Jewellery file
Method
- Choose the rings that are thin enough for your to cut or saw through. You need to have 15-17 such rings. Cut or saw flush and file ends to avoid any snags
- Set your pattern by arranging the cut rings alternatively to the uncut rings.
- Treat the rings as giant jump rings. Connect each other by opening and closing the cut rings linking the uncut rings as you go. Ad any extra rings that you want to dangle.
- Add the clasp to complete your necklace.

This DIY chain necklace using finger rings tutorial has real potential. I would love to know that you think of it and variations if any. If you a have better metal smithing skills and use all metal rings, then you can solder the cut rings shut. I wanted a simple 10 minute project with supplies from my stash so I pressed the ends together and let them be. On the downside, I let the chain drop to the ground after making it and broke one black glass ring.
I hope you have enjoyed the spate of jewellery making tutorials that I have been posting this year. I miss the blogs and websites such as craft gawker and Totally tutorials where I used to share tutorials ages ago. Craft Gossip and Cut out and Keep are websites I am aware of but frequently share. Are there anymore websites out there? What is your favourite way to get new tutorials? Do tell!
I hope you found it interesting
Cheers


What do you think?