
Welcome to the third post of the Bejewelled travel series. When I wrote the first two posts, I had hoped that the pandemic would have eased by now allowing as to travel. However, that is not the case with surging number of cases in India and its pains me to no end. Seeing the statistics in newspapers, TV and social media is getting to me and my mind craves an escape. I have resorted to going through my old travel photographs for inspiration. In 2012, my mom and I toured through Rajasthan – Udaipur, Mount Abu and Jodhpur. That trip was my birthday gift to her. The trip was full of adventure – ups and downs. Rajasthan is known for its palaces, and the Mehrangargh fort palace is one of the most well kept complexes I have seen in India. I have written about this trip before and more will follow shortly. But this post is not about the palace but earrings inspired by the throne room. Find below DIY lightweight Painted filigree earrings tutorial

Mehrangargh fort palace – Phool mahal
The Palace of flowers or Phool Mahal was built by Maharaja Abhay Singh (1724-49) in the 18th century. It is an ornately decorated hall for private audience. The ceiling is in gold filigree and mirrorwork built using gold got as spoils of war with a Mughal general. The walls, painted in the 19th century, depict the Ragamala, Royal Portraits and those of Vishnu (There is one of Nathdwara Krishna as well) and Goddess Durga surrounded by beautiful flowers. I had done an entire collection spired by Ragamala in 2014. Since the photo does not justice to the beautiful hall, here is a video by Mehrangarh Museum Trust.

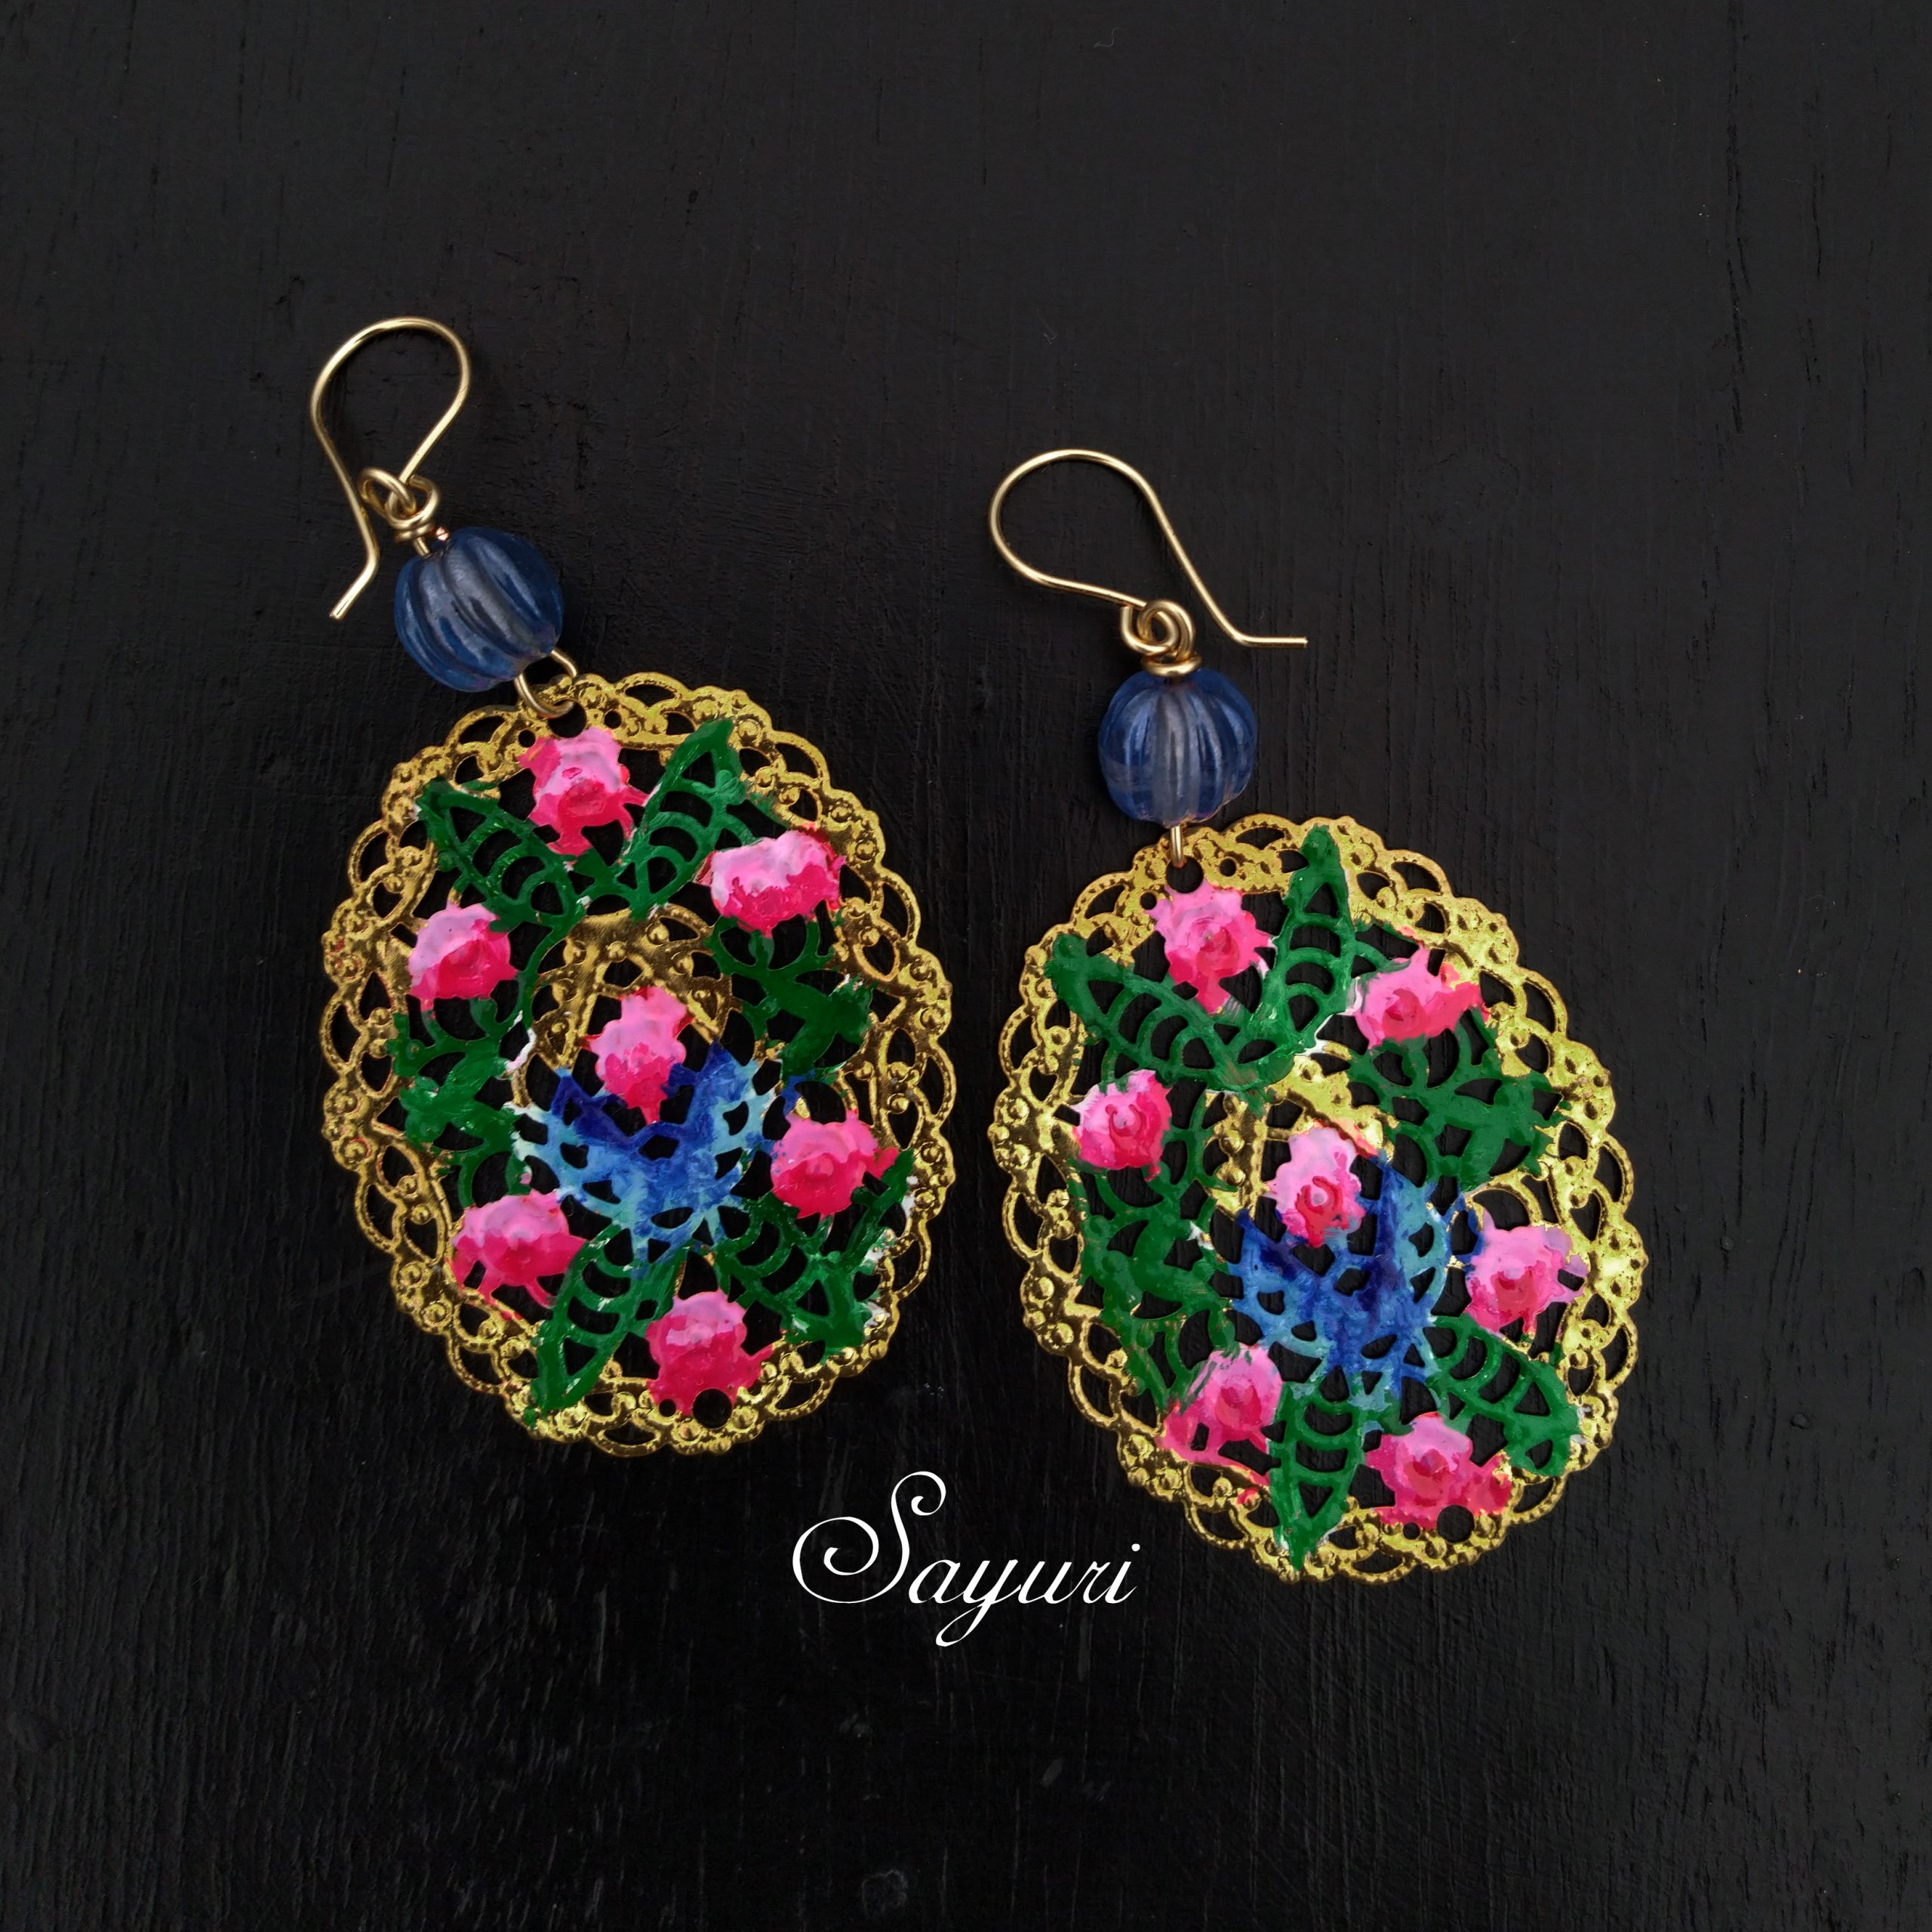
Having made so many picture jewellery collections in the near past, I wanted to create a piece without portraits. Instead, I wanted to incorporate the painted flowers and the gold filigree like work that you see . I chose colours such as gold, green, and blue from the room. The idea of pink flowers came from the frescos painted on the walls of the hotel in which we stayed in while at Jodhpur.
DIY Painted filigree earrings tutorial
Easy to create light weight statement earrings that are perfect for zoom classes and meetings. This is more of a painting tutorial than a jewellery making tutorial. However, if you are new to patina inks and have never done shading with it before, you can follow this step by step DIY.
Time – 30 minutes
Level – Beginner

Materials
- Oval filigree pieces, gold tone – 2
- Vintage patina inks – Fire opal (pink), marble (white), Emerald (green), Lapis (blue)
- 10mm Light blue football glass beads
- Gold tone artistic wire – 20g
- Vintaj patina gloss sealant
- Paint brush (size 0)

Method
Here is how I painted my filigree connectors. After you paint each colour, let it dry completely before you move to the next colour. Also, do not mix extender with patina ink if you want to shade on filigree. It will become a big mess.
- Roses – Paint the roses using fire opal and before it dries fully brush on a coat of marble. Once it dries fully, shade using fire opal to achieve desired depth.
- Leaves – Paint the leaves around the roses using emerald patina.
- Vase – give a coat of lapis or cobalt and before it dries fully brush on a coat of marble to highlight certain areas

You can add micro details with markers if you want. I skipped this step as I wanted a more abstract image. Once fully dry, seal both front and back of the filigree using patina sealant and extender
Making the Painted filigree Earrings
Using 20g artisan wire (gold) loop a light blue glass bead to the filigree connector. Wrap loop on both ends of the bead. Repeat to make a pair. Add ear hooks made using wire or even readymade ones. Wear and enjoy your earrings.

Experiment with different filigree shapes and other colours to create your own pair of painted filigree earrings. Please do share if you enjoyed this light weight summer earrings tutorial.
I hope you found it interesting
Cheers

4 responses to “Painted filigree earrings tutorial”
These are so beautiful, Divya! Before the color patinas you couldn’t even tell that the filigree is so 3-dimensional!
Yes, patinas can really elevate the look of filigree components.
They turned out great!
Thank you, glad you like them.