
One of the advantages of being a self taught jeweller is that my mind works differently that trained jewellers. I see opportunities where most others would see technical mistakes. While trying to prong set an enameled plate with open backing, I made the mistake of dropping solder on some wire causing a messed up grid. But then, it struck me that I could use this technique to set organic shapes in metal.

How to set organic shapes in metal
In my opinion, the easiest way to set organic shapes in metal is to use prongs. All you need is a base shape and arms that will “catch” whatever it is that you are trying to set. A circle is the most commonly used base shape in open settings. However, you can try advanced shapes depending on the shape of your object.
Lattice or grid setting is another technique that I chanced upon during my experiments. It gives a rustic yet industrial look to the piece. Furthermore you can set any irregular shape using it. You can create any number of variations with it. The only catch is that you need to solder all joints at a stretch very quickly while maintaining consistent heat. If not the joints break. It also means a leftover solder as it is difficult to file the joints. If you like the clean, seamless look, then this is not for you.

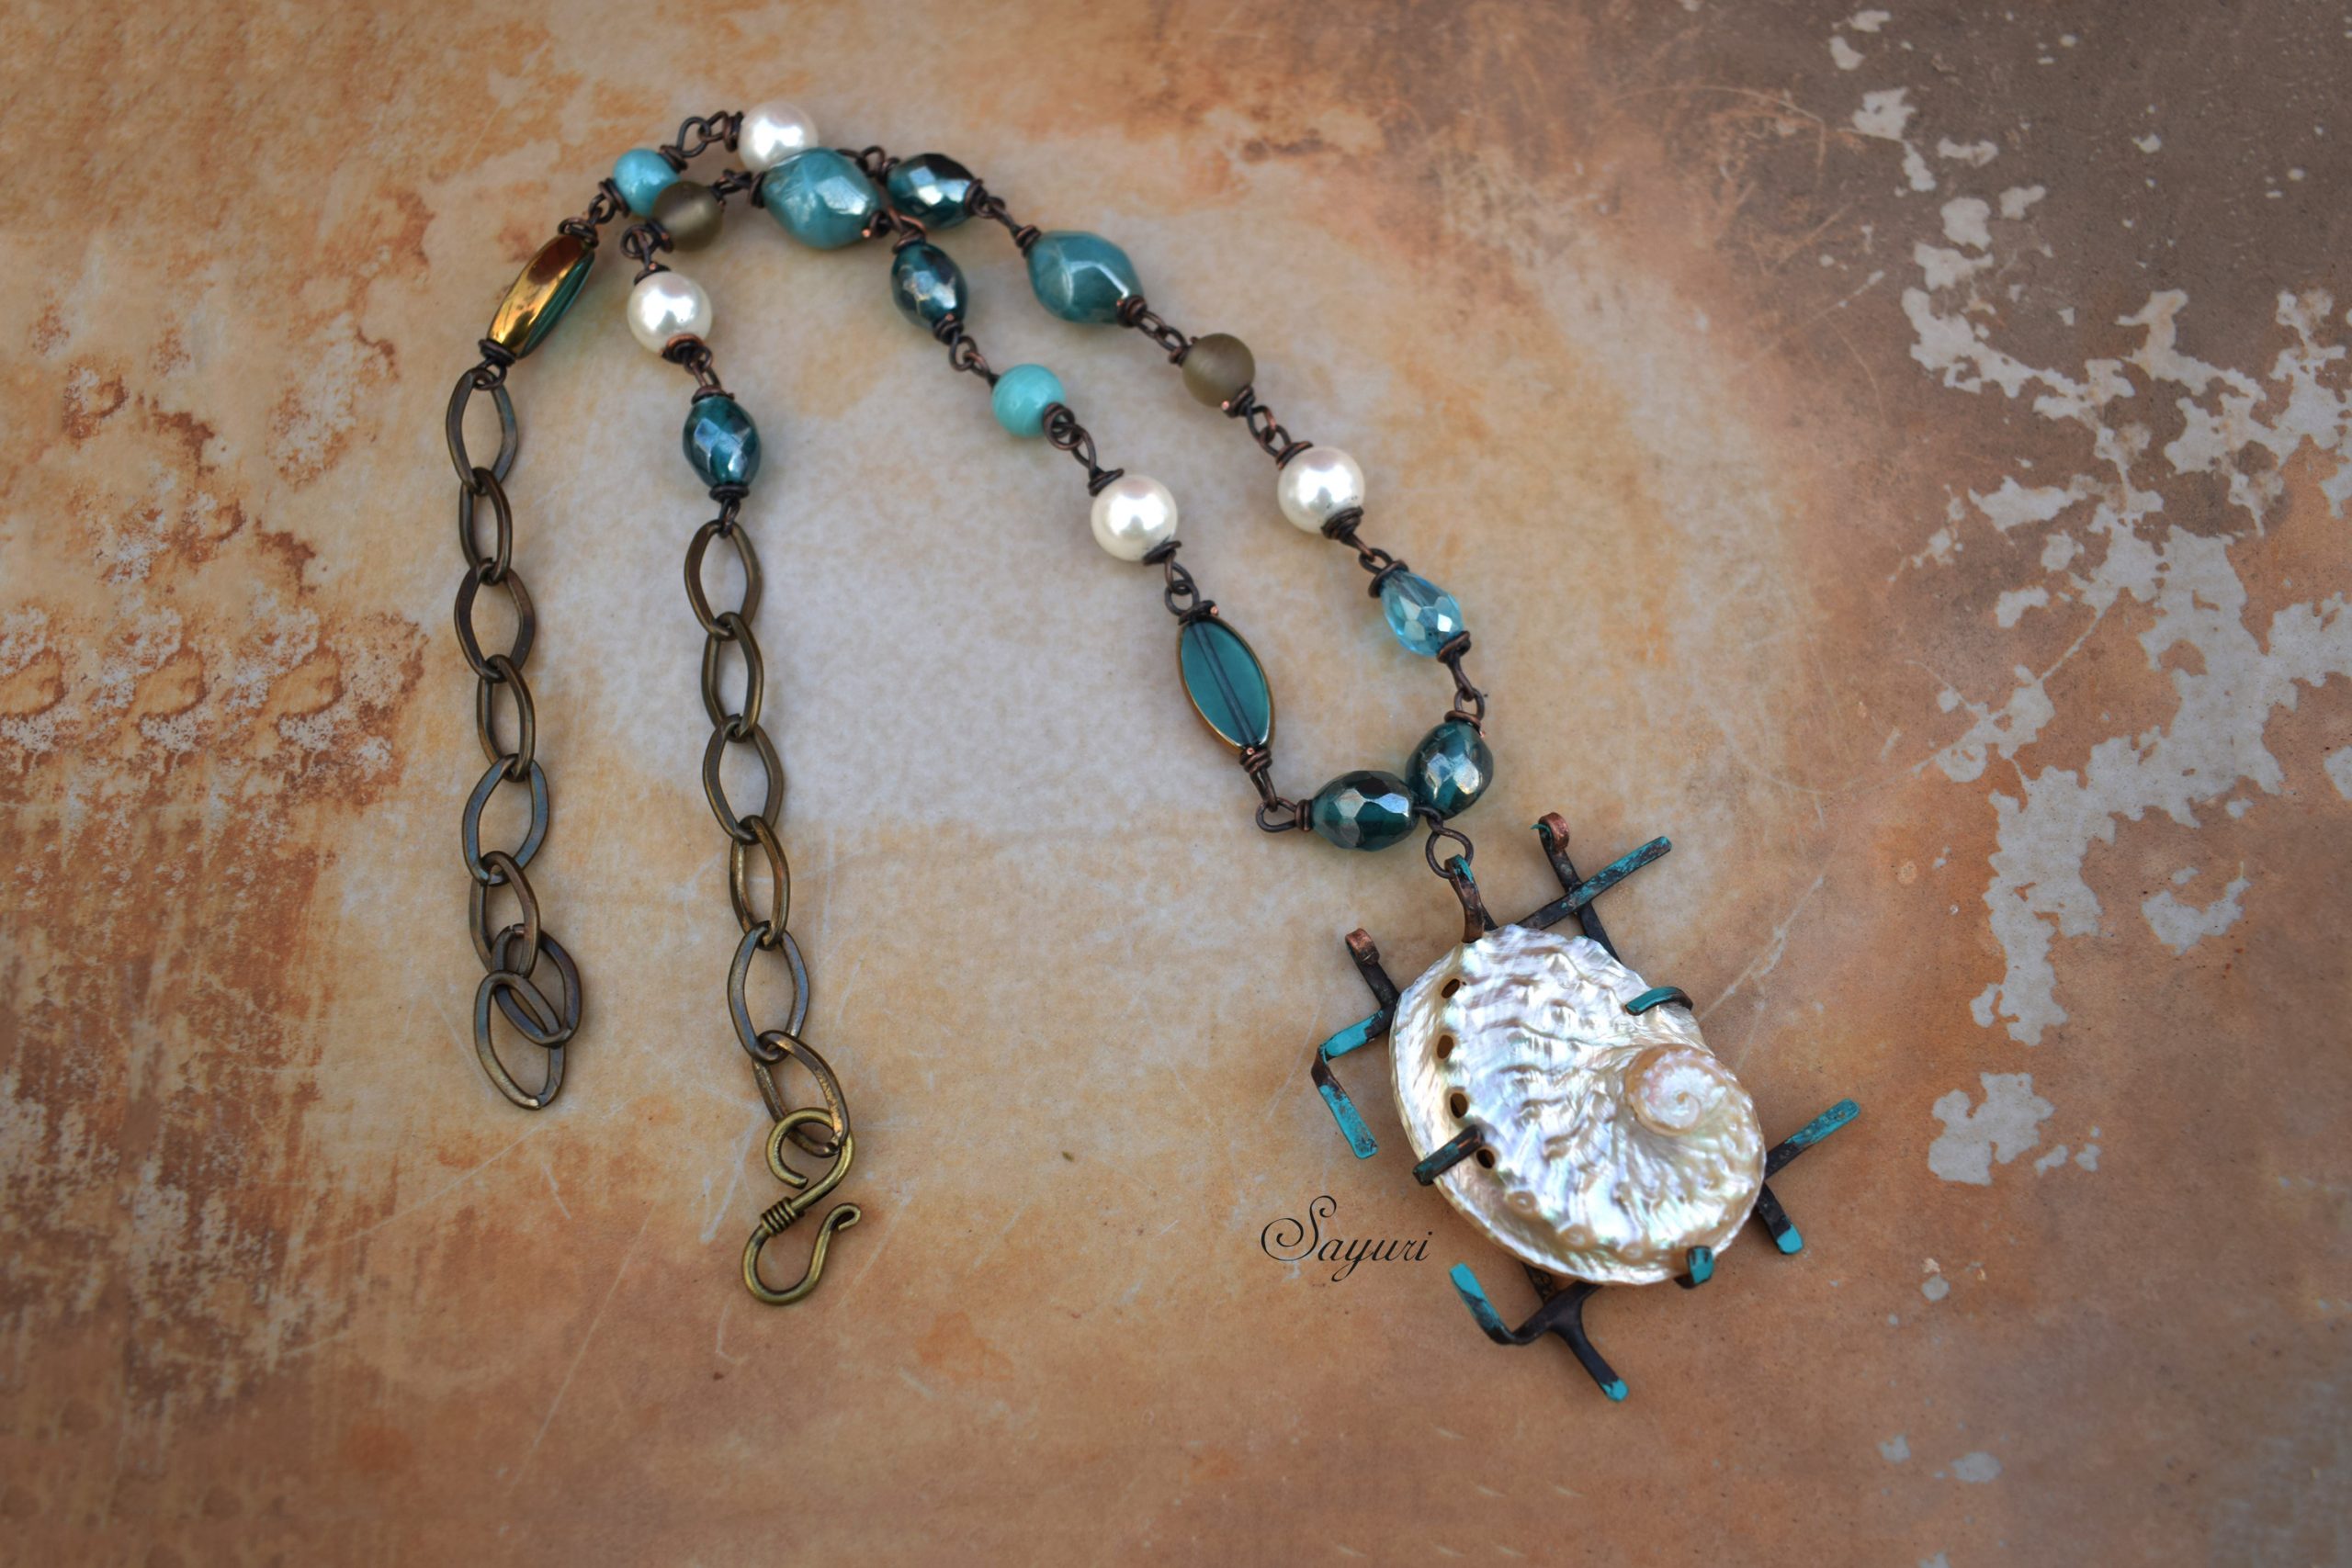
Oceanic Treasures necklace
I found a whole lot of sea shells at the Sea Shell museum in Mahabalipuram during my visit last Easter weekend. I loved the natural shine that these pieces had and found it precious. Since it was fragile I could not drill holes and due to curvature I couldn’t glue any bails to it. I fully intended to wire wrap it when a stray experiment led me to make a wire grid. I had tried 2-3 grids out of which only this one came out properly. So the grid was precious to me as well. I played around with the grid and set my shell on it. I applied dabs to patina for that oceanic treasure feeling.

And that was last year. Fast forward to last week I found this treasure when I was going through my cover of UFOs. Recollecting the wise advice shared by friends on Instagram, I wire wrapped teal green glass beads, pearls and a chain to the pendant. I tweaked the claws a bit to accommodate the beaded bail. Ta Da! the Oceanic treasures necklace was born. I do not intend to sell it – atleast I make another grid setting this like one.
Settings for Every Shape
I took an excellent online class on Bluprint called Settings for every shape by Richard Dancik. It is 2 hour and 16 minute course by the author of the book Amulets and Talismans: Techniques for Making Meaningful Jewelry. I am saddened that Bluprint no longer exists. I was banking on going back to the course as and when I worked on settings.

Course Review
The course comprises of seven sessions. In each session, Dancik demonstrates a different techniques and explains its applications. He also lists out potential variations. In the first session, he talks about riveting before moving on to tab setting and form folding. He covers both positive and negative space tabs which are my favourite. As I learnt form folding from Youtube, I am only aware of one way to do it. But Dancik showed some other techniques such as aligning the edge of metal with the edge of the block before striking.


My favourite session is the 4th where he demonstrates box making. I have been wanting to learn this for a while. For that reason alone this class is a hit. Cold setting faceted stone and bezel making were meh. However, he makes up for them with the last session on partial bezels. I didn’t know such a thing was possible. There is definitely a downside to being self taught.

What I liked about the sessions was the importance that he paid to narratives and concepts. He speaks about how jewellery can be designed (and constructed) to create a strong narrative. While this is a metal jewellery class, Dancik also explains the use of cement, resin and found objects in jewellery making. The answers to questions in the comments section are particularly illuminating.
*update – I have removed links to the class as off May 2020. I am leaving the review here with the hope that the site will come back online in the near future.
I hope you find it interesting
Take care and stay safe at home
Cheers

5 responses to “How to set organic shapes in metal”
I absolutely love the prong setting on this shell, it is organic as the shell itself and this is the way I love to make jewelry! Thank you for the prompt about the class, I’ll try to find the time to watch it. Do you use a gas burner or a soldering gun? Soldering gun(s) is all we got at home right now and my first try to use them wasn’t very encouraging.
I used a micro torch and rod solder as I did this in College. I don’t know how to use a soldering iron but I want to learn.
PS: I guess I was reading your post and commenting at the exact time you were reading mine 😀
Nicer work
I too love the rustic wire frame that contrasts to the smooth luster of the organic shell. Unexpected and lovely. Great first attempt! Thanks for the link to Blueprint, too. On my way to check it out.
Thank you. The course is not free at the present but at 50% off. Still its worth pursuing.