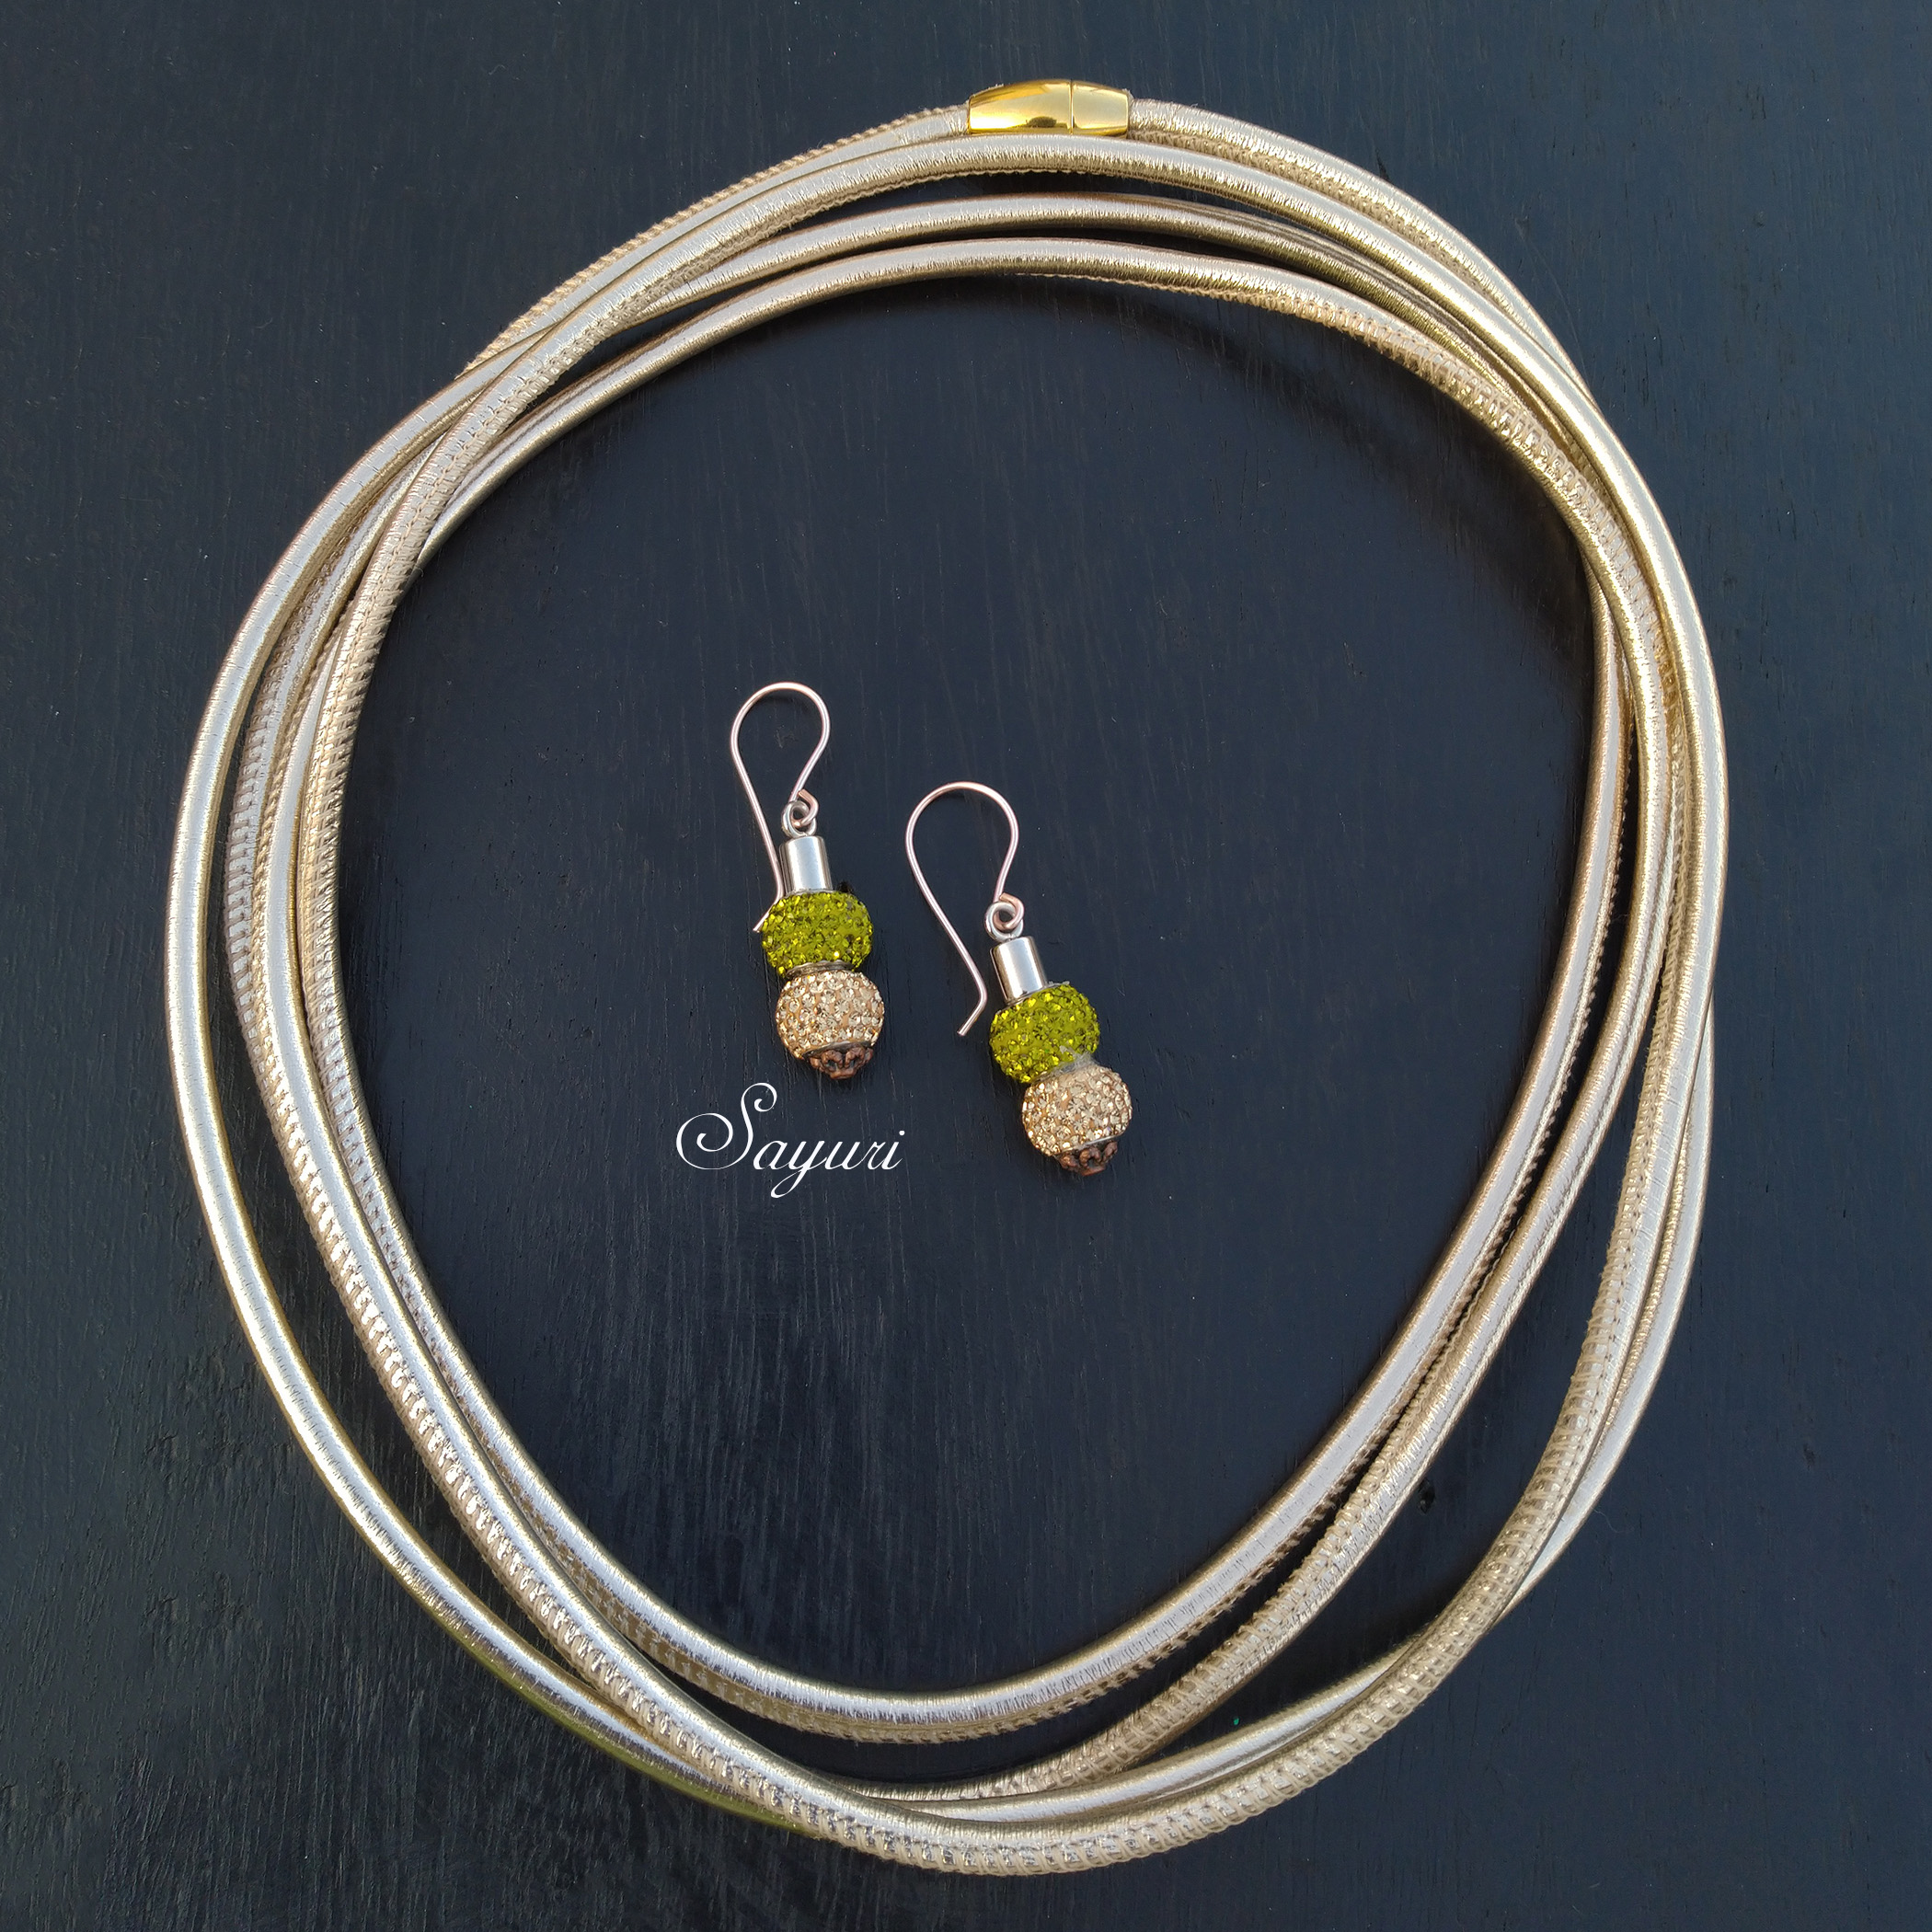
As I grow older I find myself wanting more “easy” jewellery. I still love bling and gold is my go to metal. However, I am drawn to smaller, lighter pieces that I would have ignored 2-3 years ago. My personal style has always been classic as opposed to my kitschy design sense. But these days, I am drawn to neutral colours, softer or cleaner textures and pieces that multi-task.
I have been wanting to make my version of an African wire choker for long. Knowing that I hate wearing something so close to the neck, I wanted to make it soft and fluid as opposed to the rigid collar. One day scrolling through images of leather cords, I wondered if I was starring at the answer to my question. Can I make a gold collar necklace that is soft and light and yet can multi task? It turns out that I can and this gold cord necklace was born.

Gold cord necklace and rhinestone bead earrings tutorials
This Gold cord necklace is so simple to make that I had to share it with you. All it takes is some beautiful leather cord and a sturdy clasp. I love how soft and light it feels on the neck. The best part is you can wear this necklace in atleast three ways. You can wear it as a choker, a graduating cord necklace and a knotted necklace as well. See how I have paired it rhinestone bead earrings for a great party look.


Gold Cord necklace tutorial
Materials
1. Round stitched Nappa Cord Ø4,0mm – gold (metallic) – 75″ approx
2. Golden magnetic Leather Clasp
3. Scissors and e6000 glue

Method
This necklace takes only a minute to make. Cut 75 inches of metallic leather cord with a pair of sharp scissors. Apply glue to the insides of the barrel clasp and glue it to the ends of the cord. Wait 20-30 minutes for the glue to dry completely. Your Gold cord necklace is ready.
Since this is a double tutorial post – Gold cord necklace and rhinestone bead earrings tutorial, I have a run down on how to make the Rhinestone bead earrings too.
Rhinestone bead earrings tutorial
Pandora style rhinestone beads are elegant with a great sparkle. But they are not versatile and can be used only 2-3 ways. Usually, they are strung on a thick cord as a bracelet, suspended on a wire hoop or supported with bicone beads on either side as earrings. I was wondering if there was another way to use the large holed beads when it struck me. I could use leather cord to support the beads not just horizontally but vertically as well.

Materials
1. Big hole bead with rhinestones, Ø-inside 4,4mm – lemon – 2 pcs
2. Big hole bead with rhinestones, Ø-inside 4,4mm – topaz – 2 pcs
3. Round stitched Nappa Cord Ø4,0mm – gold (metallic) – 3″
4.End cup Stainless to fit 4 mm cord – 2 pcs
5. Small floral bead cap – copper or silver
6. artistic wire – rose gold or silver – 20g + round nose pliers + cutters (or) store bought ear hooks
7. Scissors and e6000 glue
8. Nose pliers

Method
- Measure the height of your rhinestone beads and double it. Half 0.5 inches extra to it. Mine came around 1.5 inches. Cut two pieces of leather cord of this size
- Apply e6000 glue to the insides of the end caps and glue the cord pieces. Let dry for 15 minutes.
- Apply e6000 glue to the leather cord and push the rhinestone beads up to the point where the end cap goes slightly inside the bead. The beads and the cord must be a snug fit for the hold to be secure. Let dry for 15 minutes.
- Trim excess cord with a pair of sharp scissors. Glue a small floral bead cap to cover the leather for a clean look.
- Add either store bought or self made earhooks in wire.

Though the beads are large enough to sparkle, the earrings are lightweight. They can be worn by themselves or paired with a suitable necklace. The neutral colours work well with various outfits as well. So what more are you waiting for? Go ahead and make them and enjoy wearing them. Check out this category link for more leather jewellery tutorials on my blog.


7 responses to “Rhinestone bead earrings and cord necklace tutorials”
Using leather cord as a core for large-hole beads is brilliant, Divya! And the cord is a real find – leather cords are usually more rigid. I like the first look of it.
Thank you. these cards are very soft. I have wondered if there were other ways to use a large hole bead and thats when I thought of using a leather cord.
I love the leather necklace. Well done!
Thanks Kathy, its so simple to do and satissfying.
Such a wonderful and easy to follow tutorial and I just lobe both of these pieces. Pinned.
Thanks Joanne, I hope that you have fun trying it out.
thanks Annie, I will sure do.