
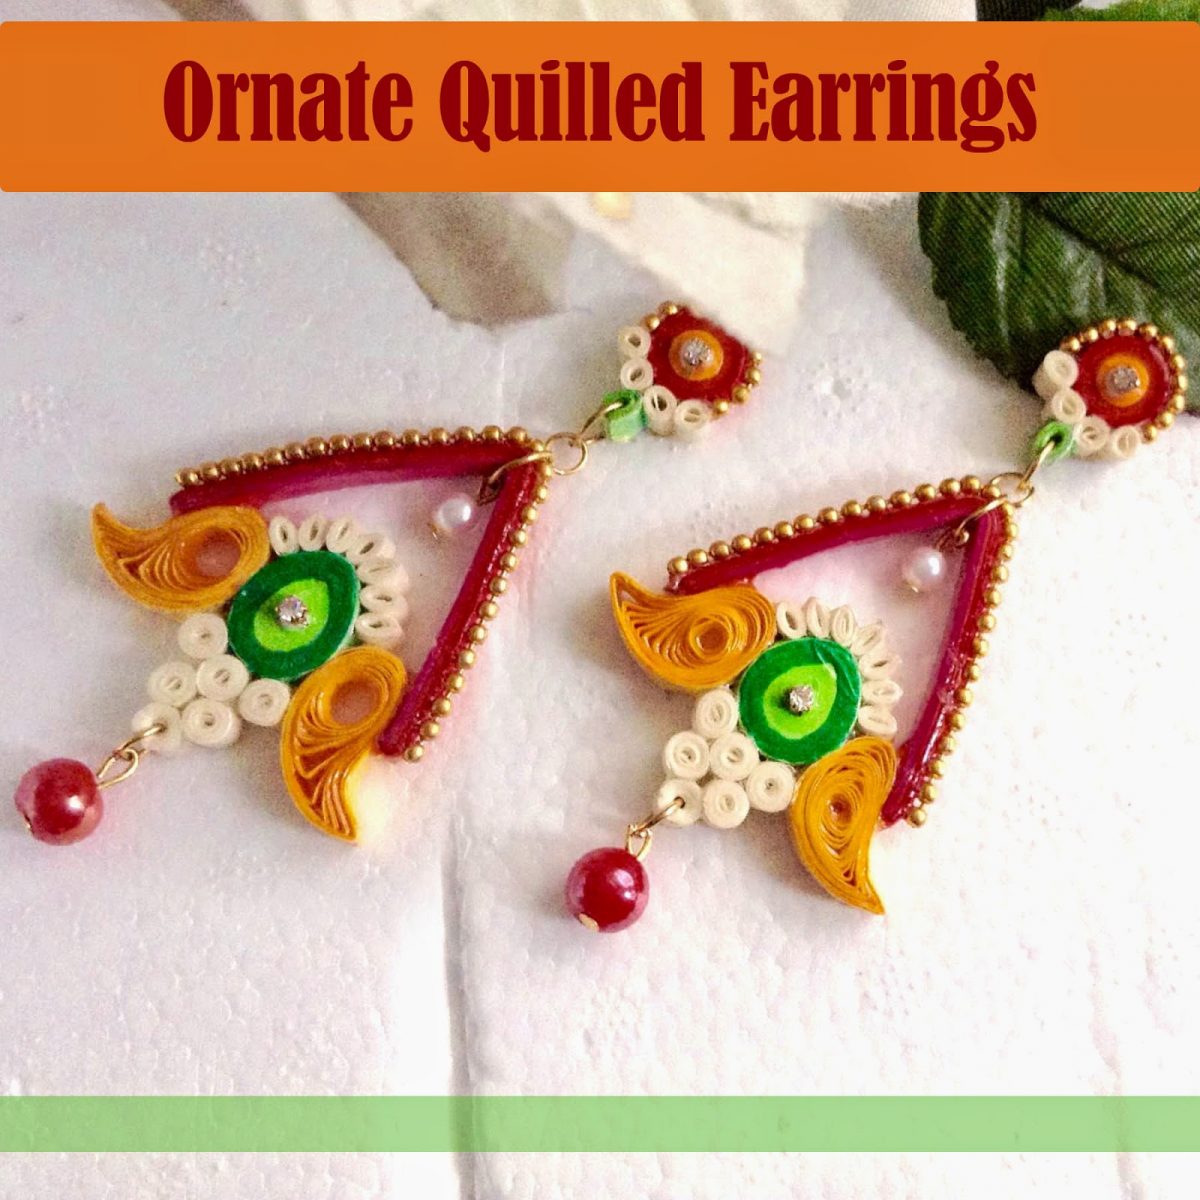
Lavanya joined us last week to share with us, detailed step by step instructions on how to make Quilled Jhumkha earrings. She is joining us again today with another tutorial to make these Ornate quilled earrings. Like the one before, this design was also created by her for the winner of the 3000 Likes contest on her EEECrafts Facebook page

DIY ornate quilled earrings
Materials
• Quilling slotted tool
• 5mm strips
• Quilling board
• Jewelry pliers and wire Cutter
• Modge Podge Gloss
• Fevicol (white glue)
• Jewelry Findings : Jump rings, Head pins ,eye pins, beads, gold ball chains, Stud bases
Method


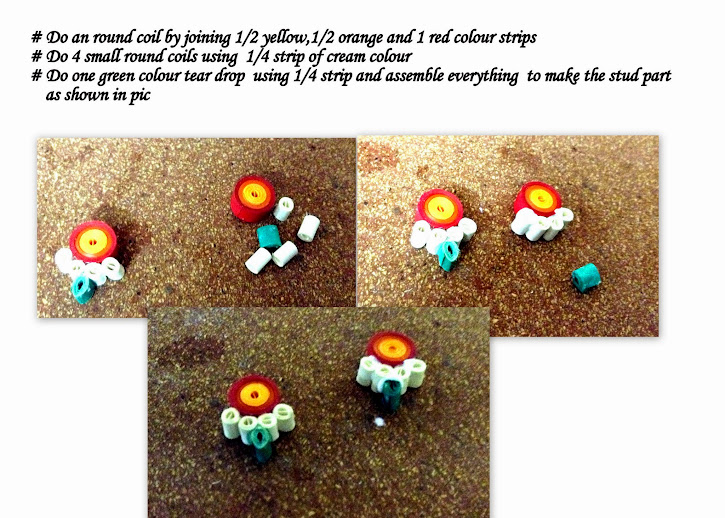
4.Join 1 1/2 yellow strips and place it on 3rd circle of board and let it expand. Remove it from board, glue it and twist at one end to form mango shape. Join ½ strip of green and 1 strip of dark green to form tear drop shape. Do 7 tear drop shapes using 1/8 part of cream color strips.

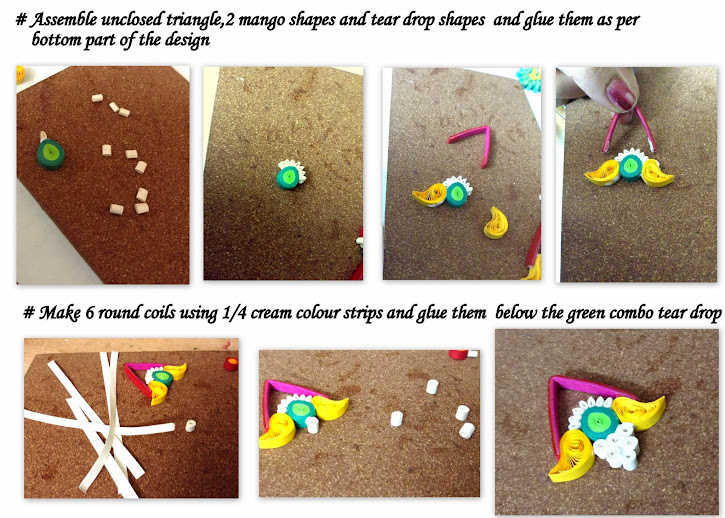
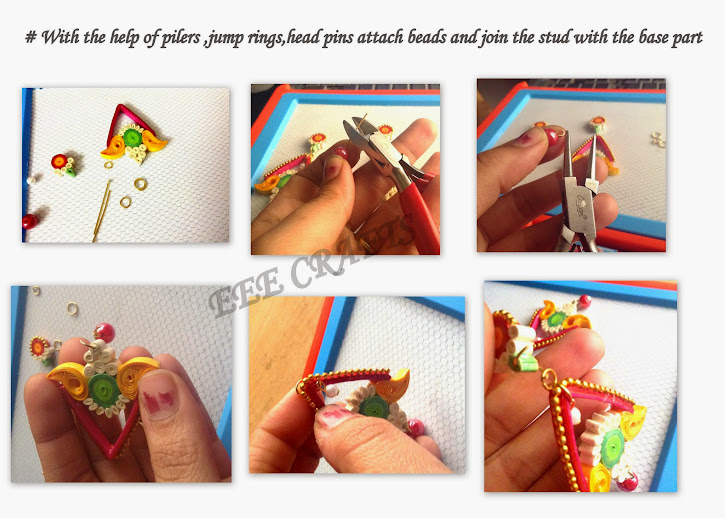
5. Assemble unclosed triangle, 2 mango shapes ,tear drop shapes and glue them as per bottom part of
the design .Make 6 round coils using ¼ cream color strips and glue them below the green combo
tear drop.
7.Apply Varnish/Modge Podge Gloss.Once the piece dries up decorate the stud and bottom part with gold ball chains, add beads and join stud to dangler portion with jump rings. Glue on a stud base

Divya’s Note: Fabric glue (multi purpose) dries clears while fevicol might leave a thin film and is more suited for gluing paper to paper. They can be used interchangeably or use Mod podge in lieu of these. Sealing quilled jewelry with multiple coats is good practice as it strengthens the piece and makes it more durable.
About the Artist: Lavanya Nallamalli is a Computer science graduate who worked as software engineer for 5 years before taking a baby break. During pregnancy when she used to work from home she came across crochet tutorials of baby accessories on the internet and started making crochet gifts. When her little one grew up, she started a home business of crochet baby gift accessories which got extended into crochet jewelry and Quilling jewelry. Find her on Facebook – Crochet4 charity and EEE crafts
I hope you found it interesting
Cheers
